

Gallery Style Walls - Hang ‘Em High, Hang ‘Em Low
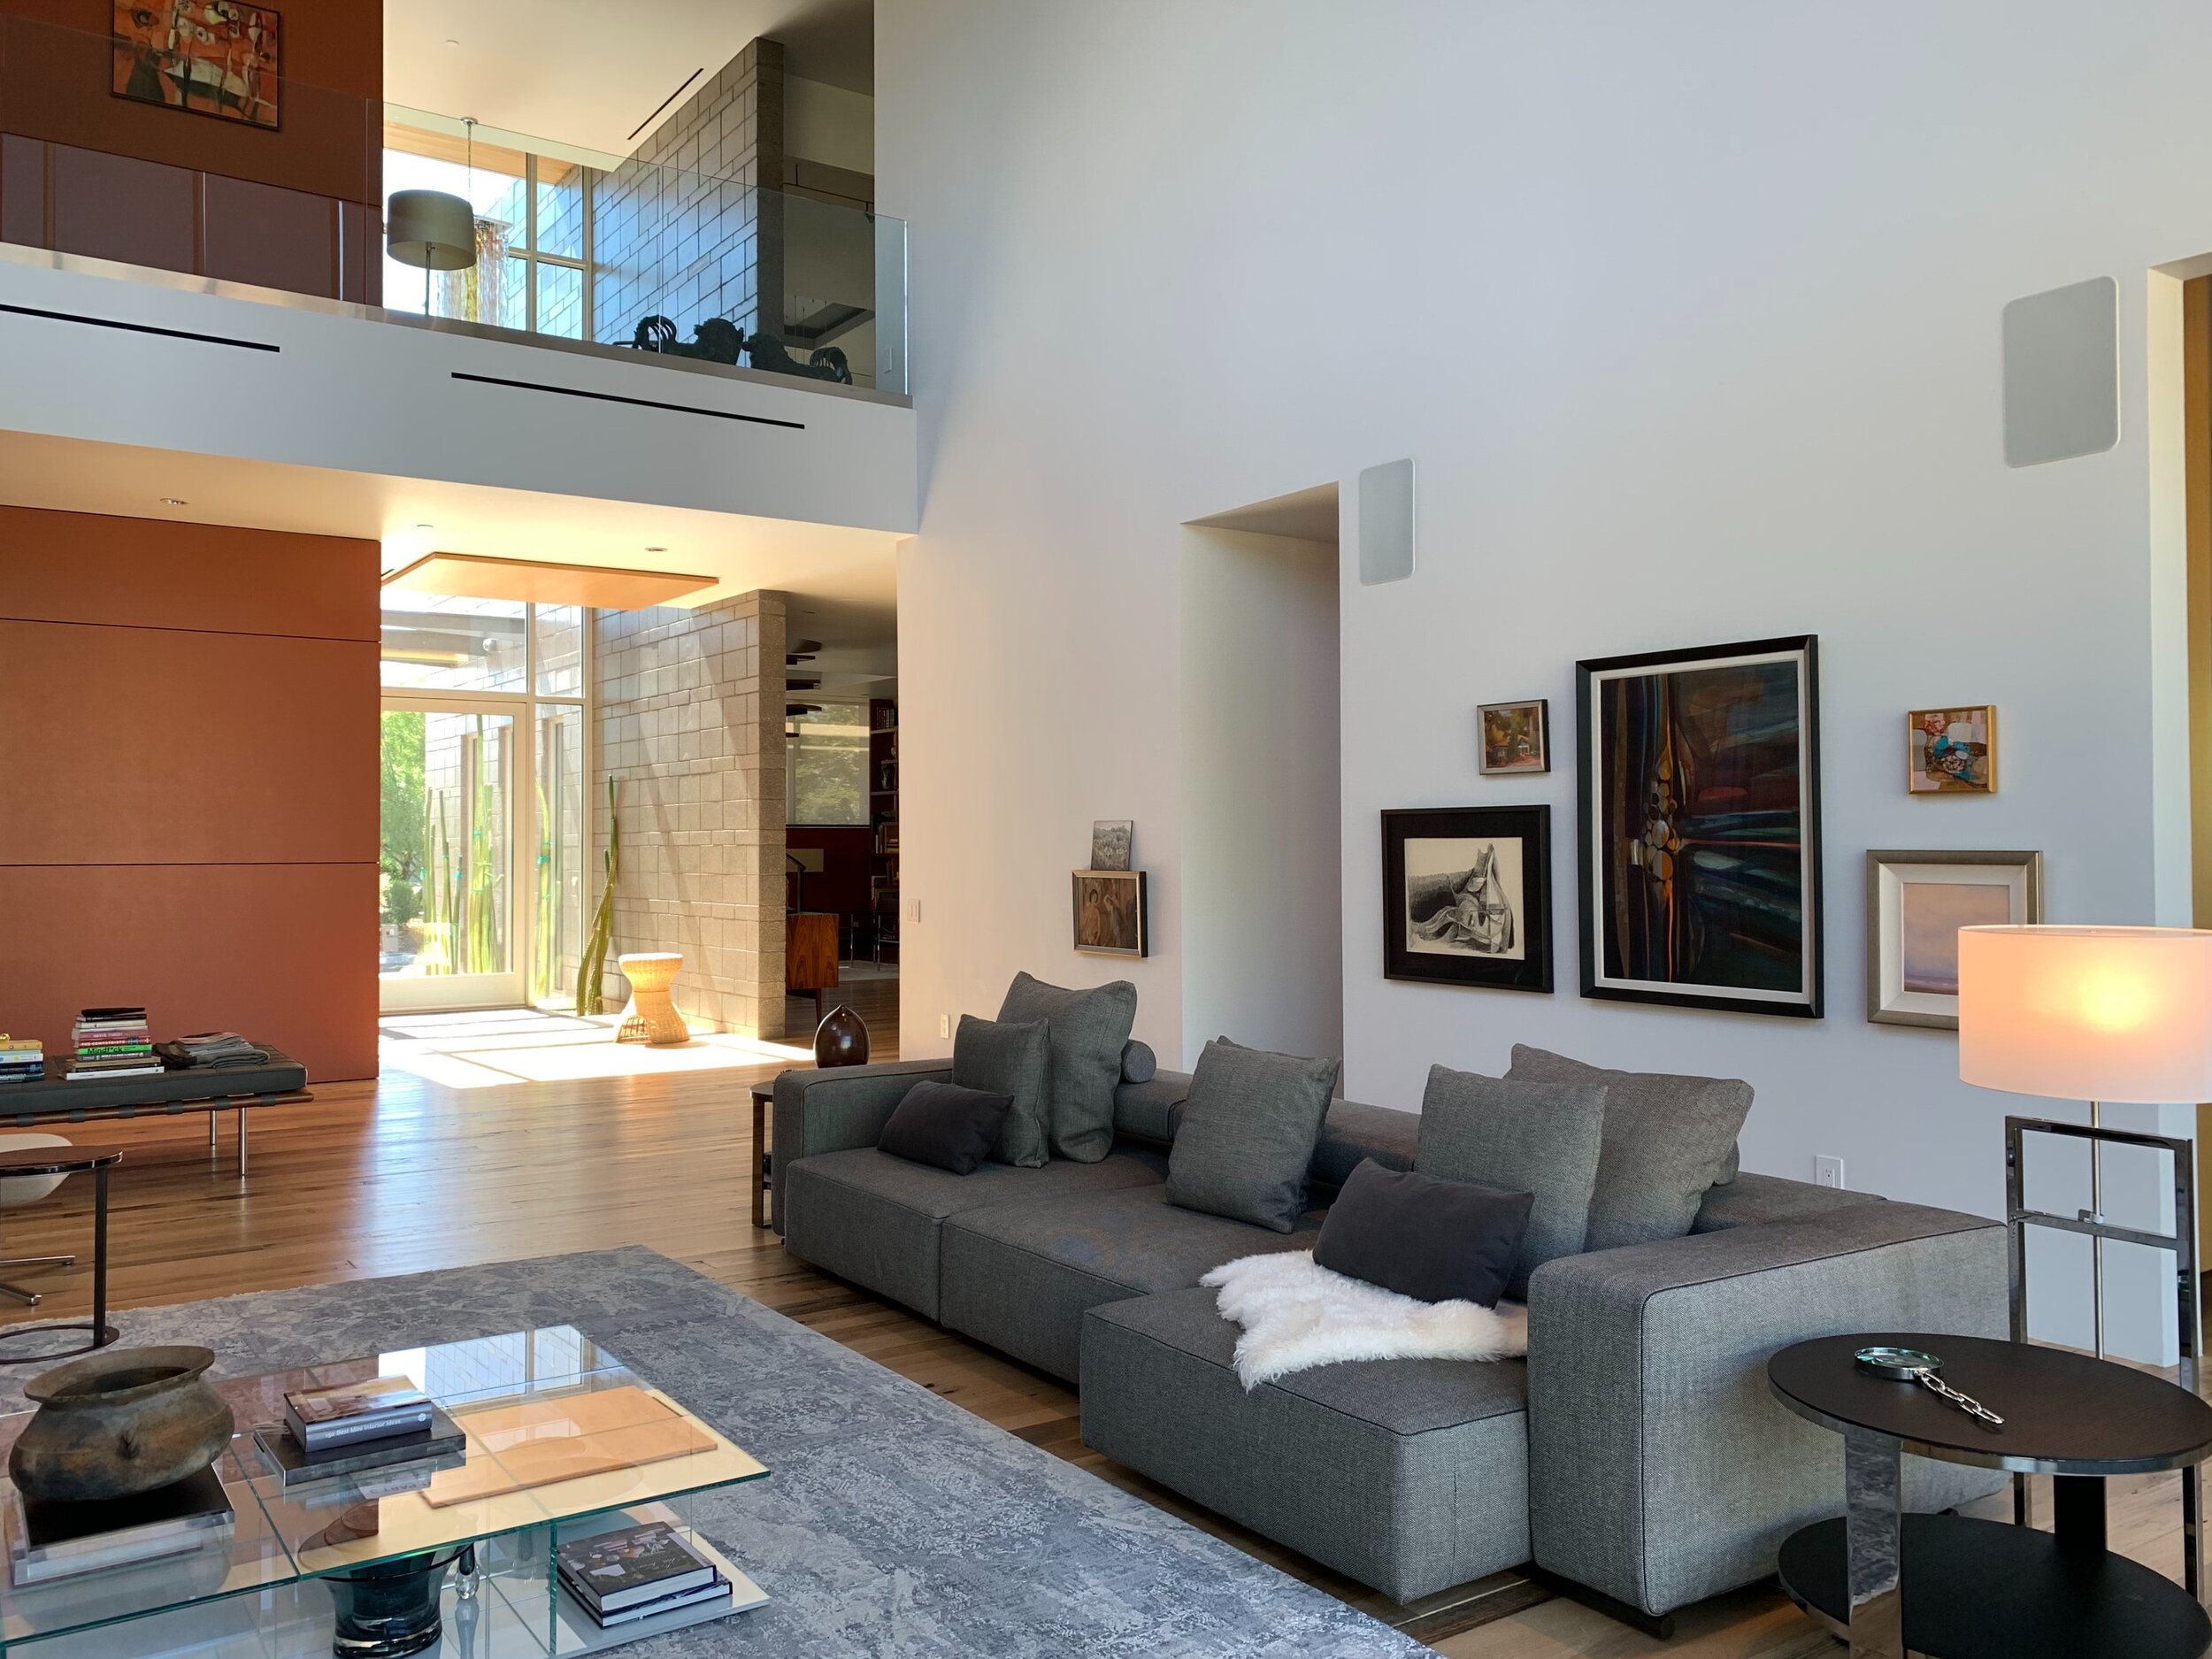
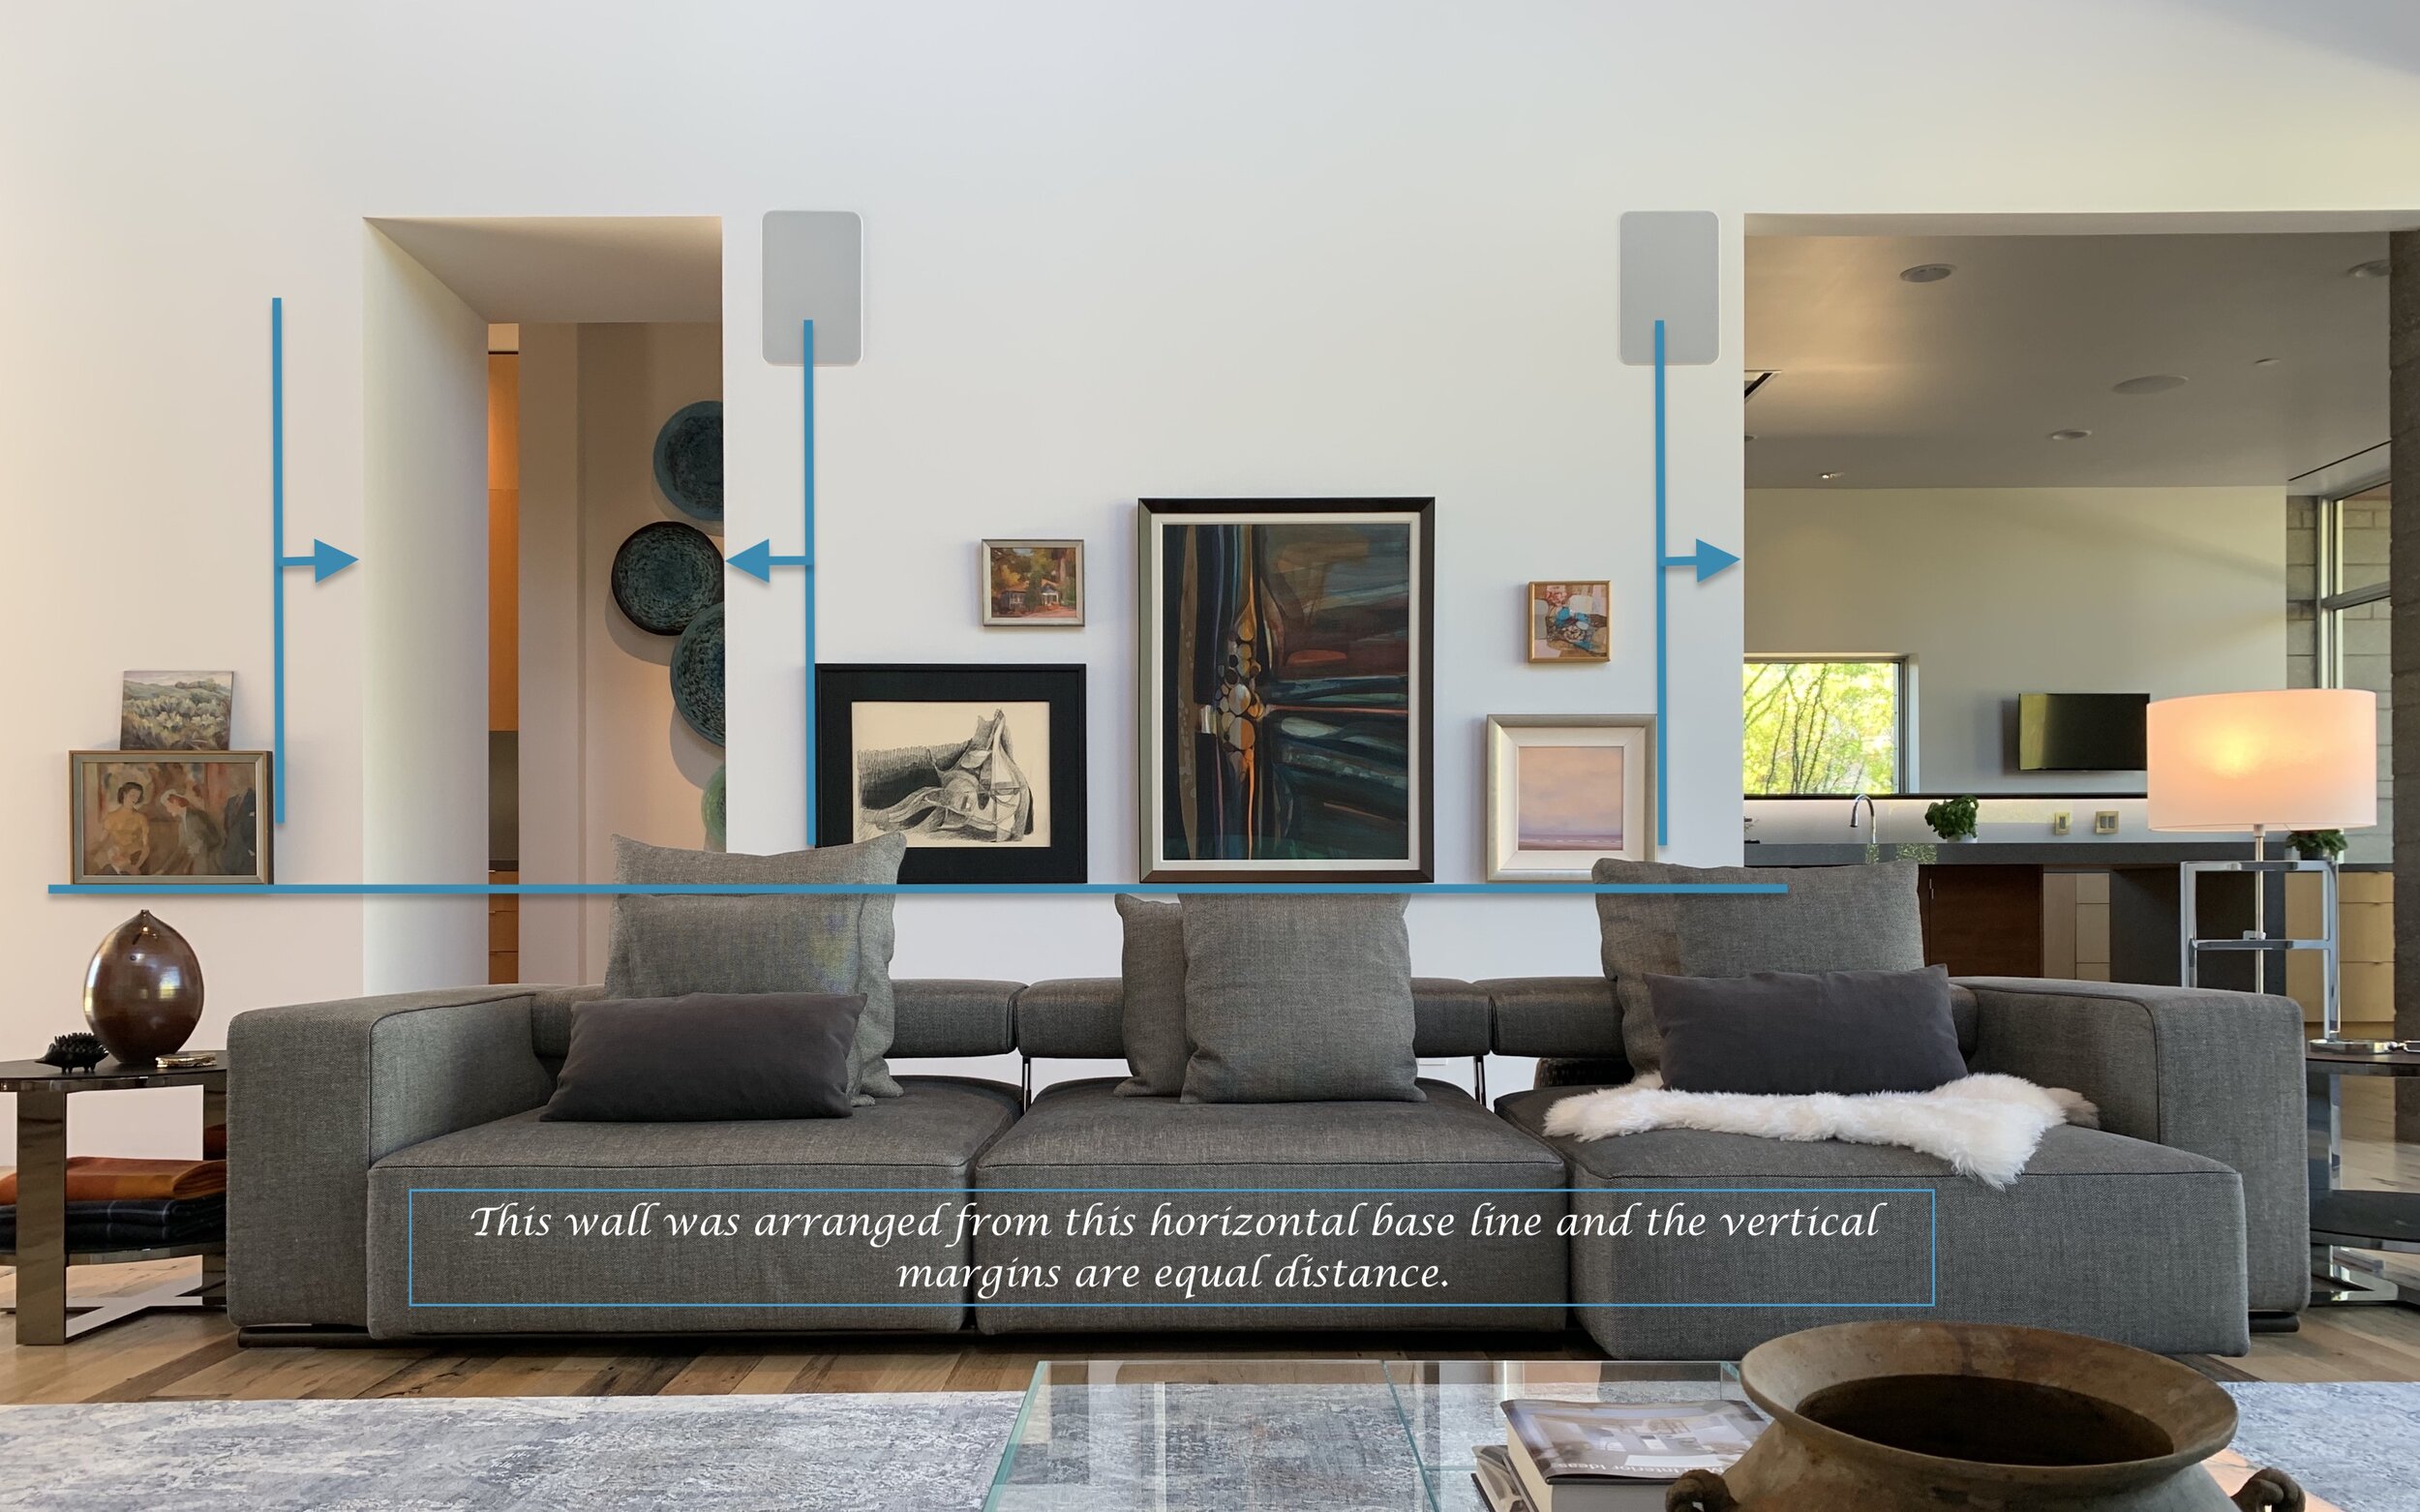
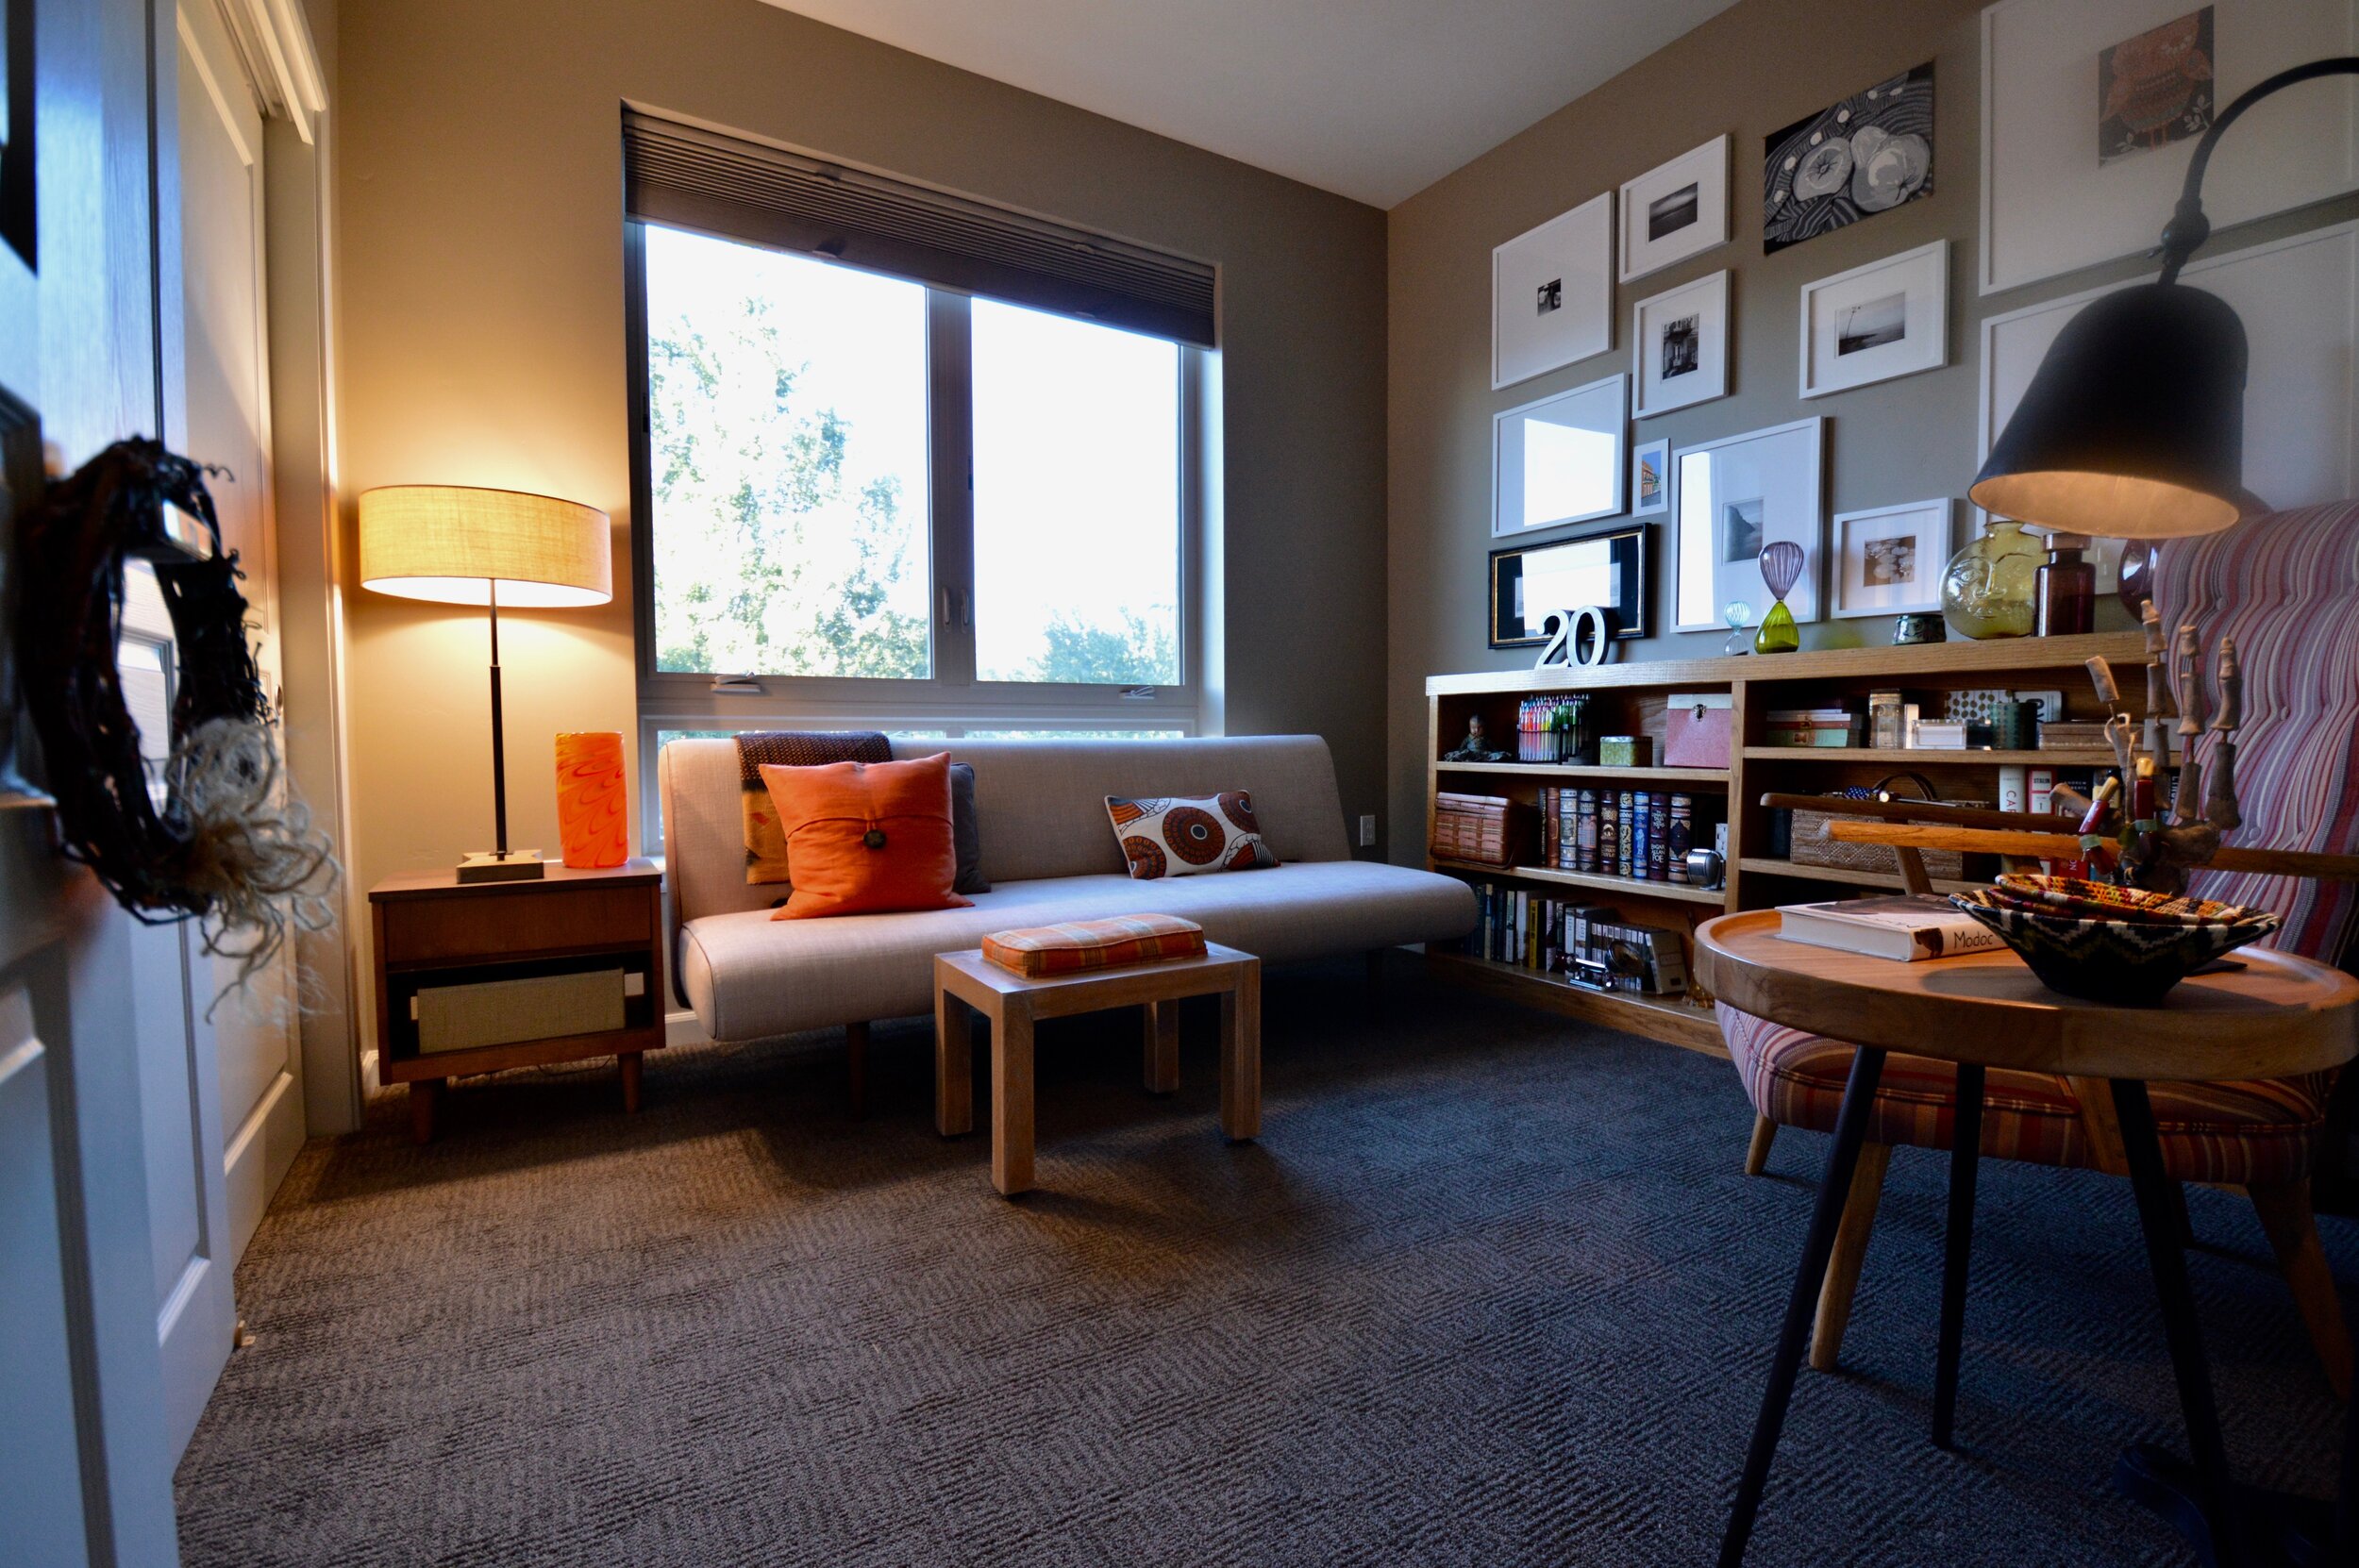
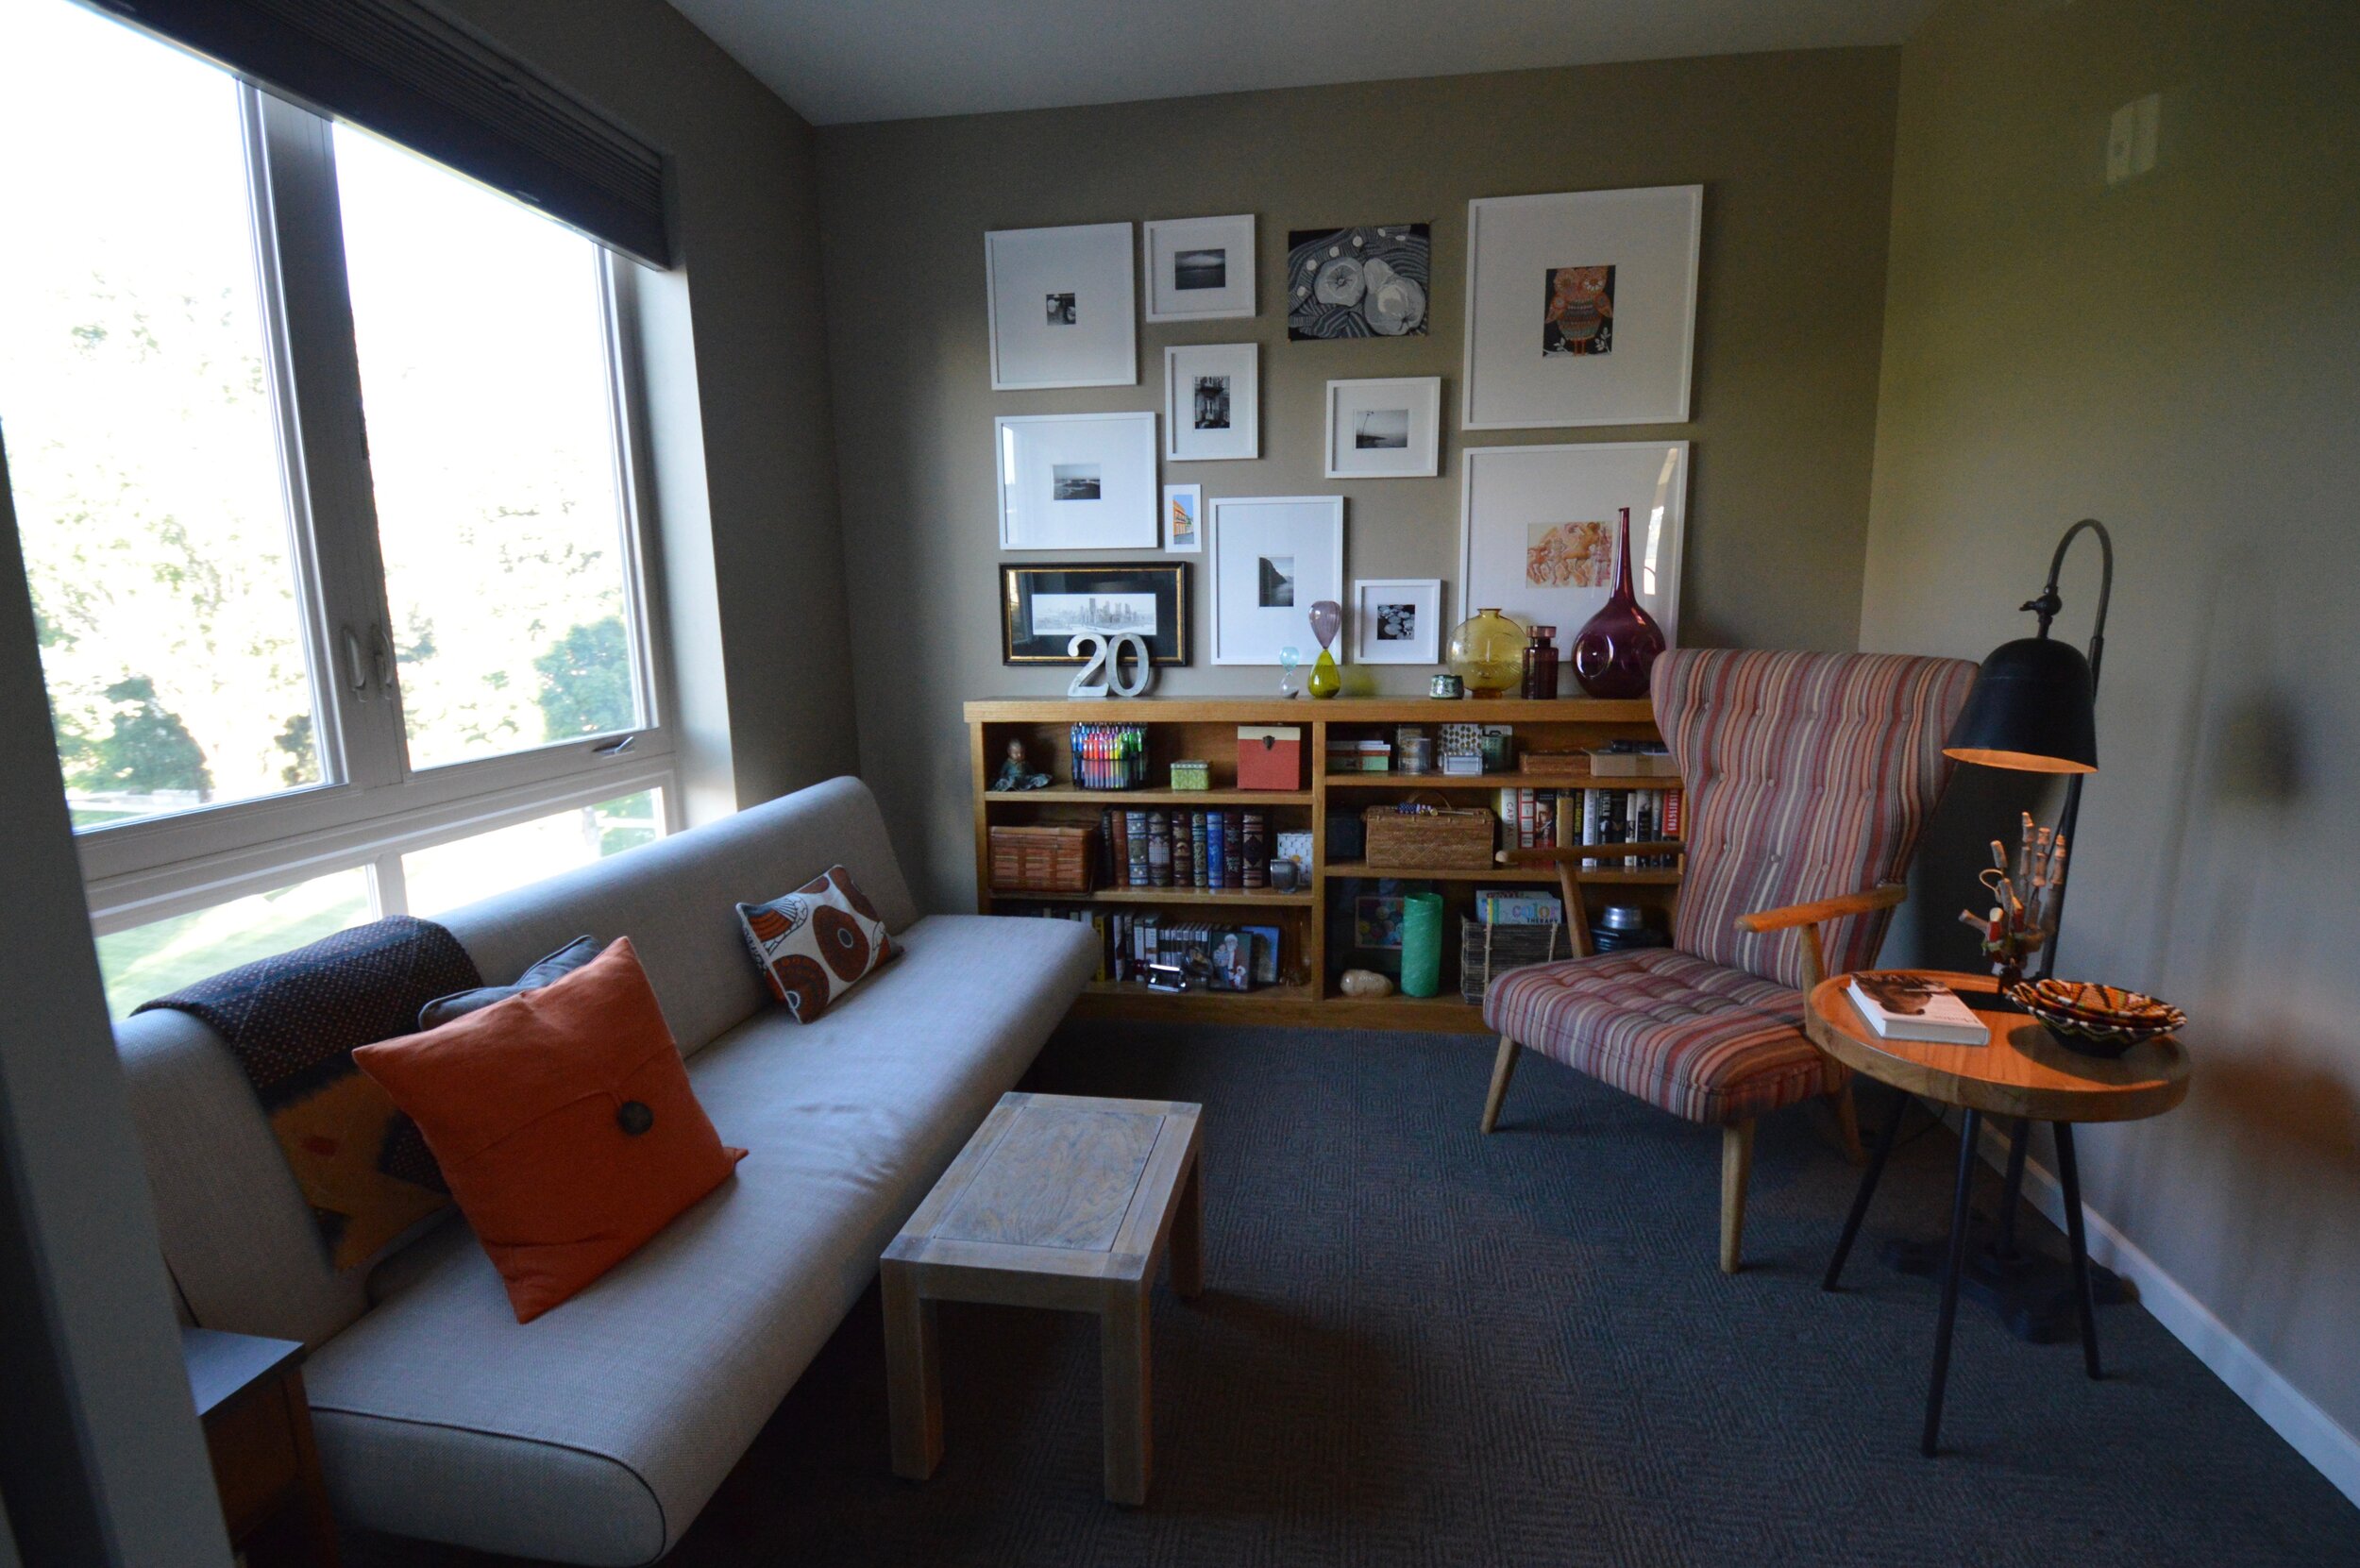
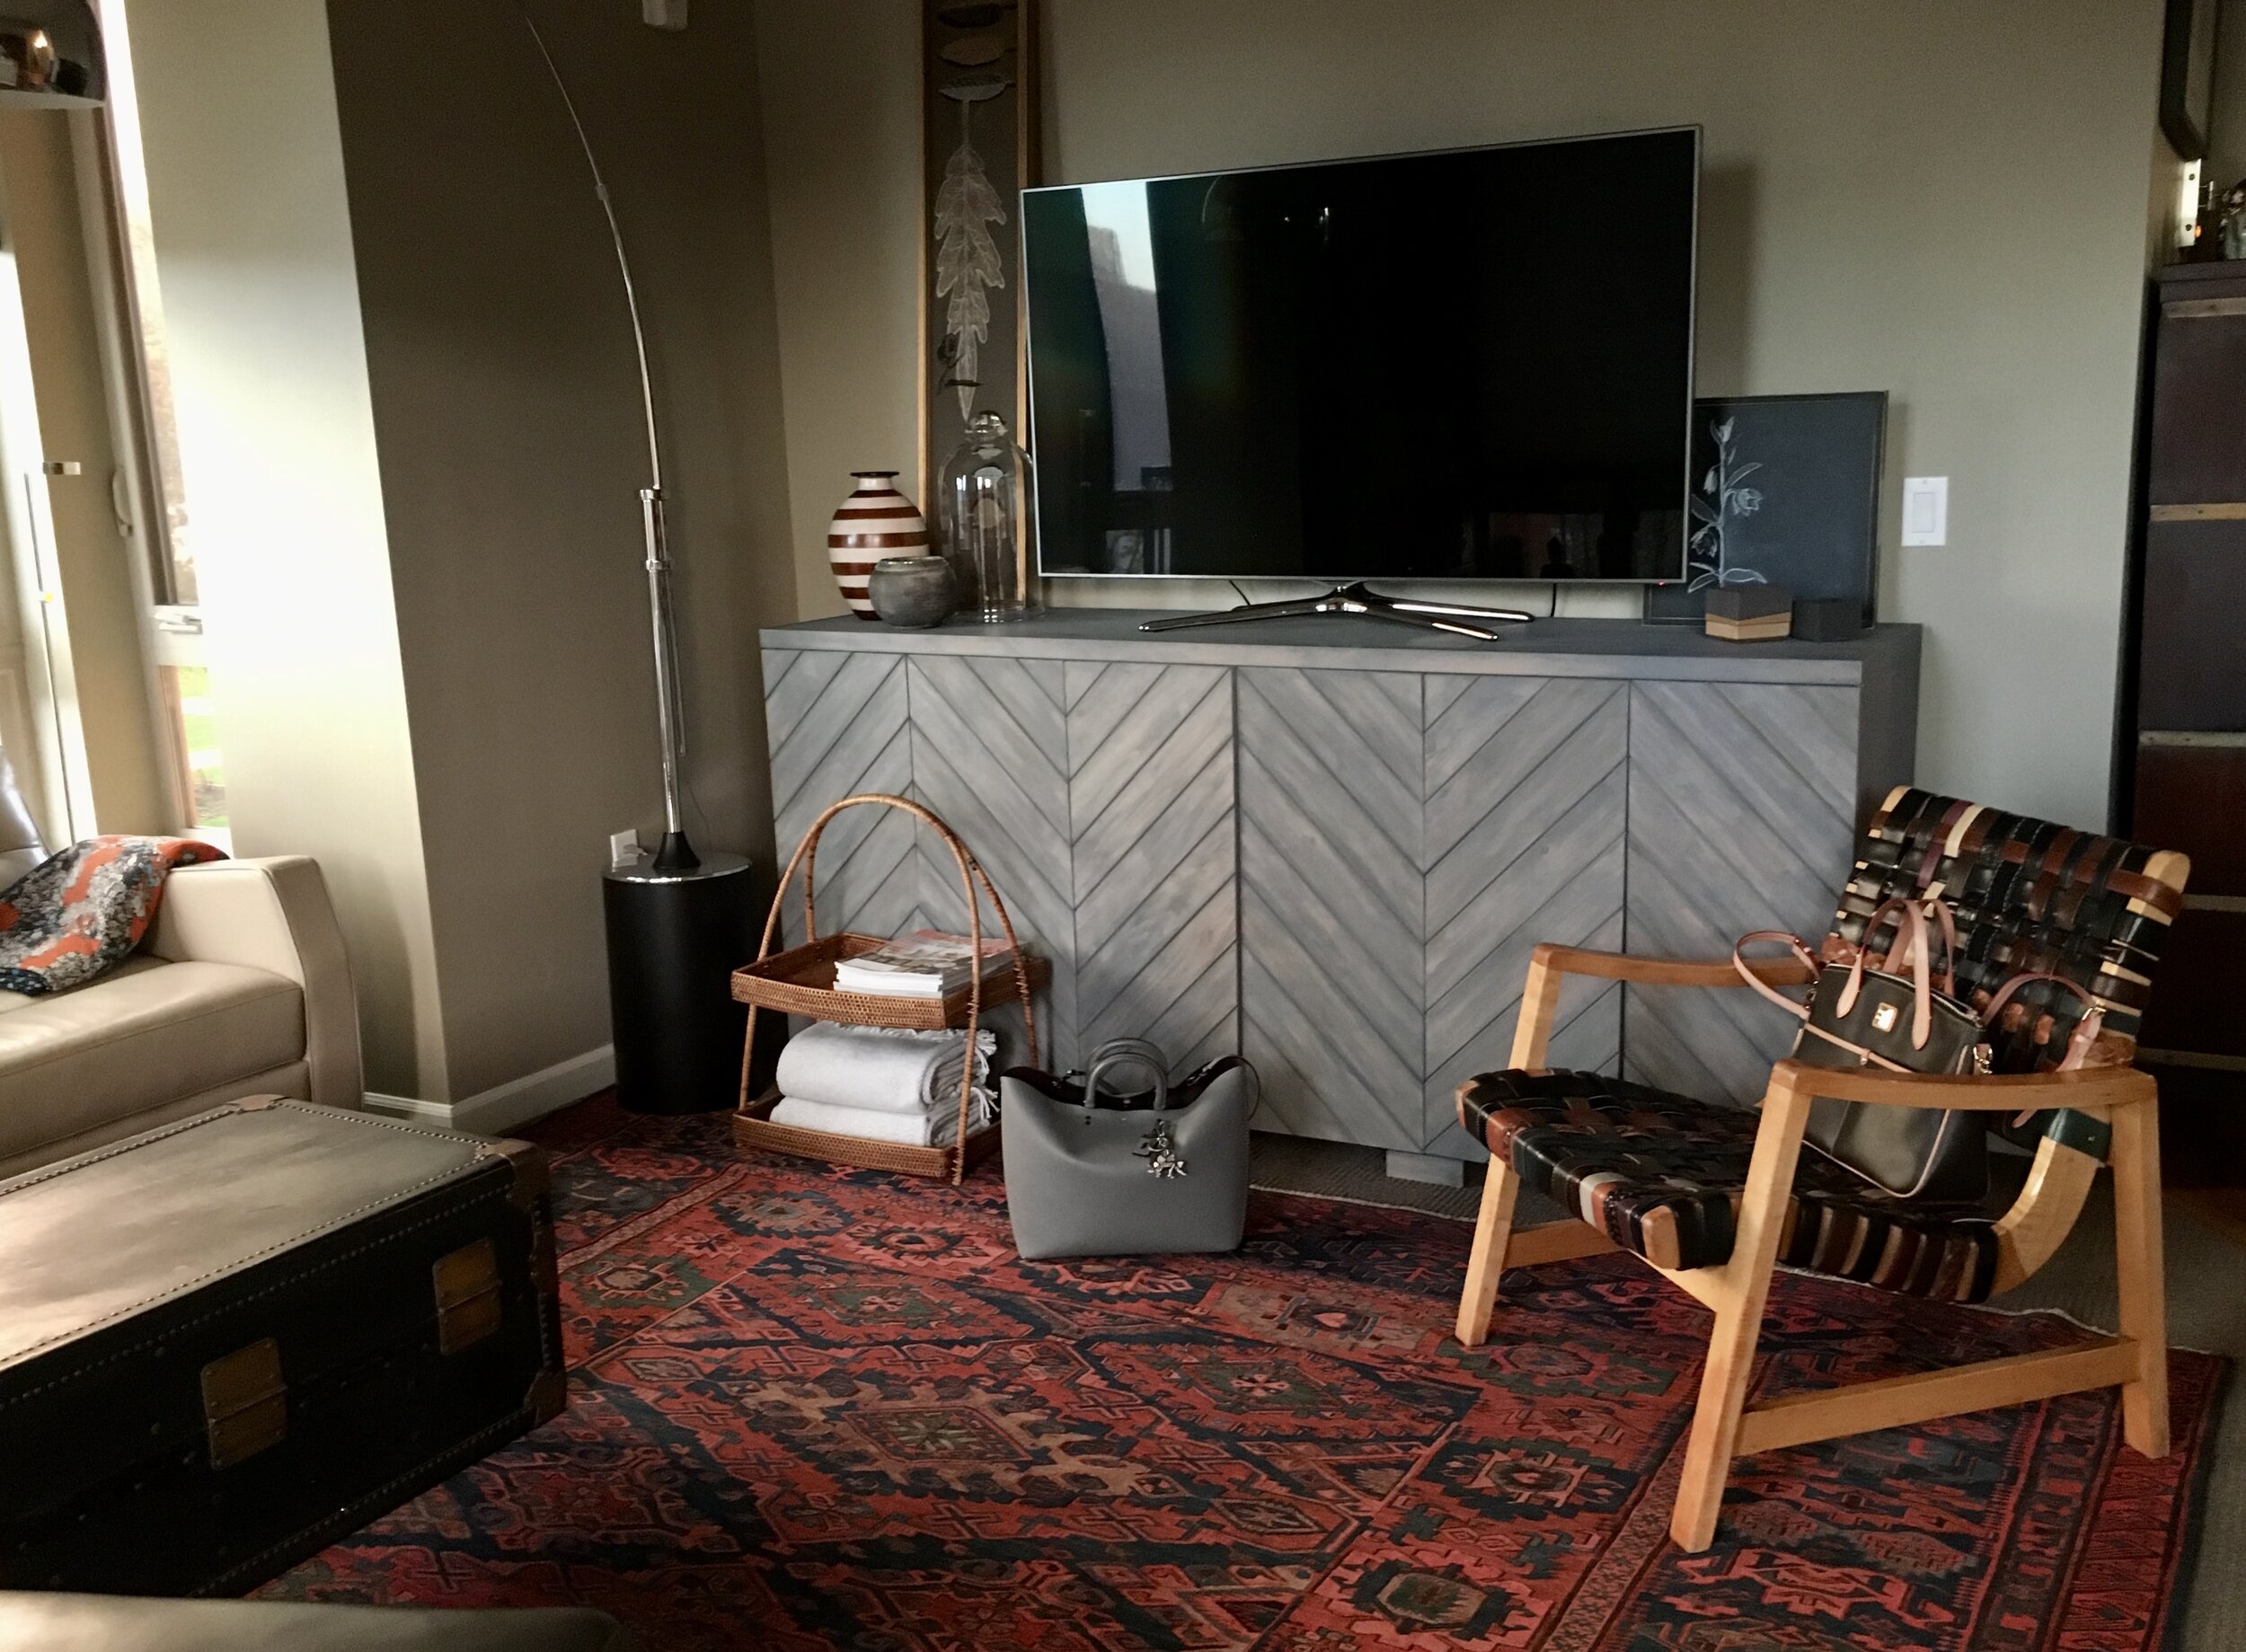
You shouldn’t be constrained by normal and customary when it comes to hanging artwork in your home. Although one painting hung centered over a sofa can be lovely, it doesn’t have to be the norm. I think of the placement of artwork as a relationship between the art and all the other furnishings in the room where it hangs, and the vantage point of the viewer is always a priority. Eye level is a good starting point but not a must. If you are very tall but have very low modern furniture, hanging artwork at your standing eye level is going to look out of place. This photo is a good example.

The relationship between the low-slung sofa and the artwork behind it is strong, and it helps to ground this very tall room.
The artwork is hung low on a very tall wall because there is a dialog between the artwork and the low-slung sofa. All the furniture in this room is low to the ground, so the vantage point for the viewer when seated in this room is quite low as well. Hanging these pieces low not only creates a superb perspective for the viewer, but it helps to ground a very tall expansive room. These works are disparate in style but have a strong color relationship. The black, teal, orange and peach colors in these works is the common note that strikes a chord and make them sing.

Hanging these pieces in mass declutters this small room and makes it feel larger.
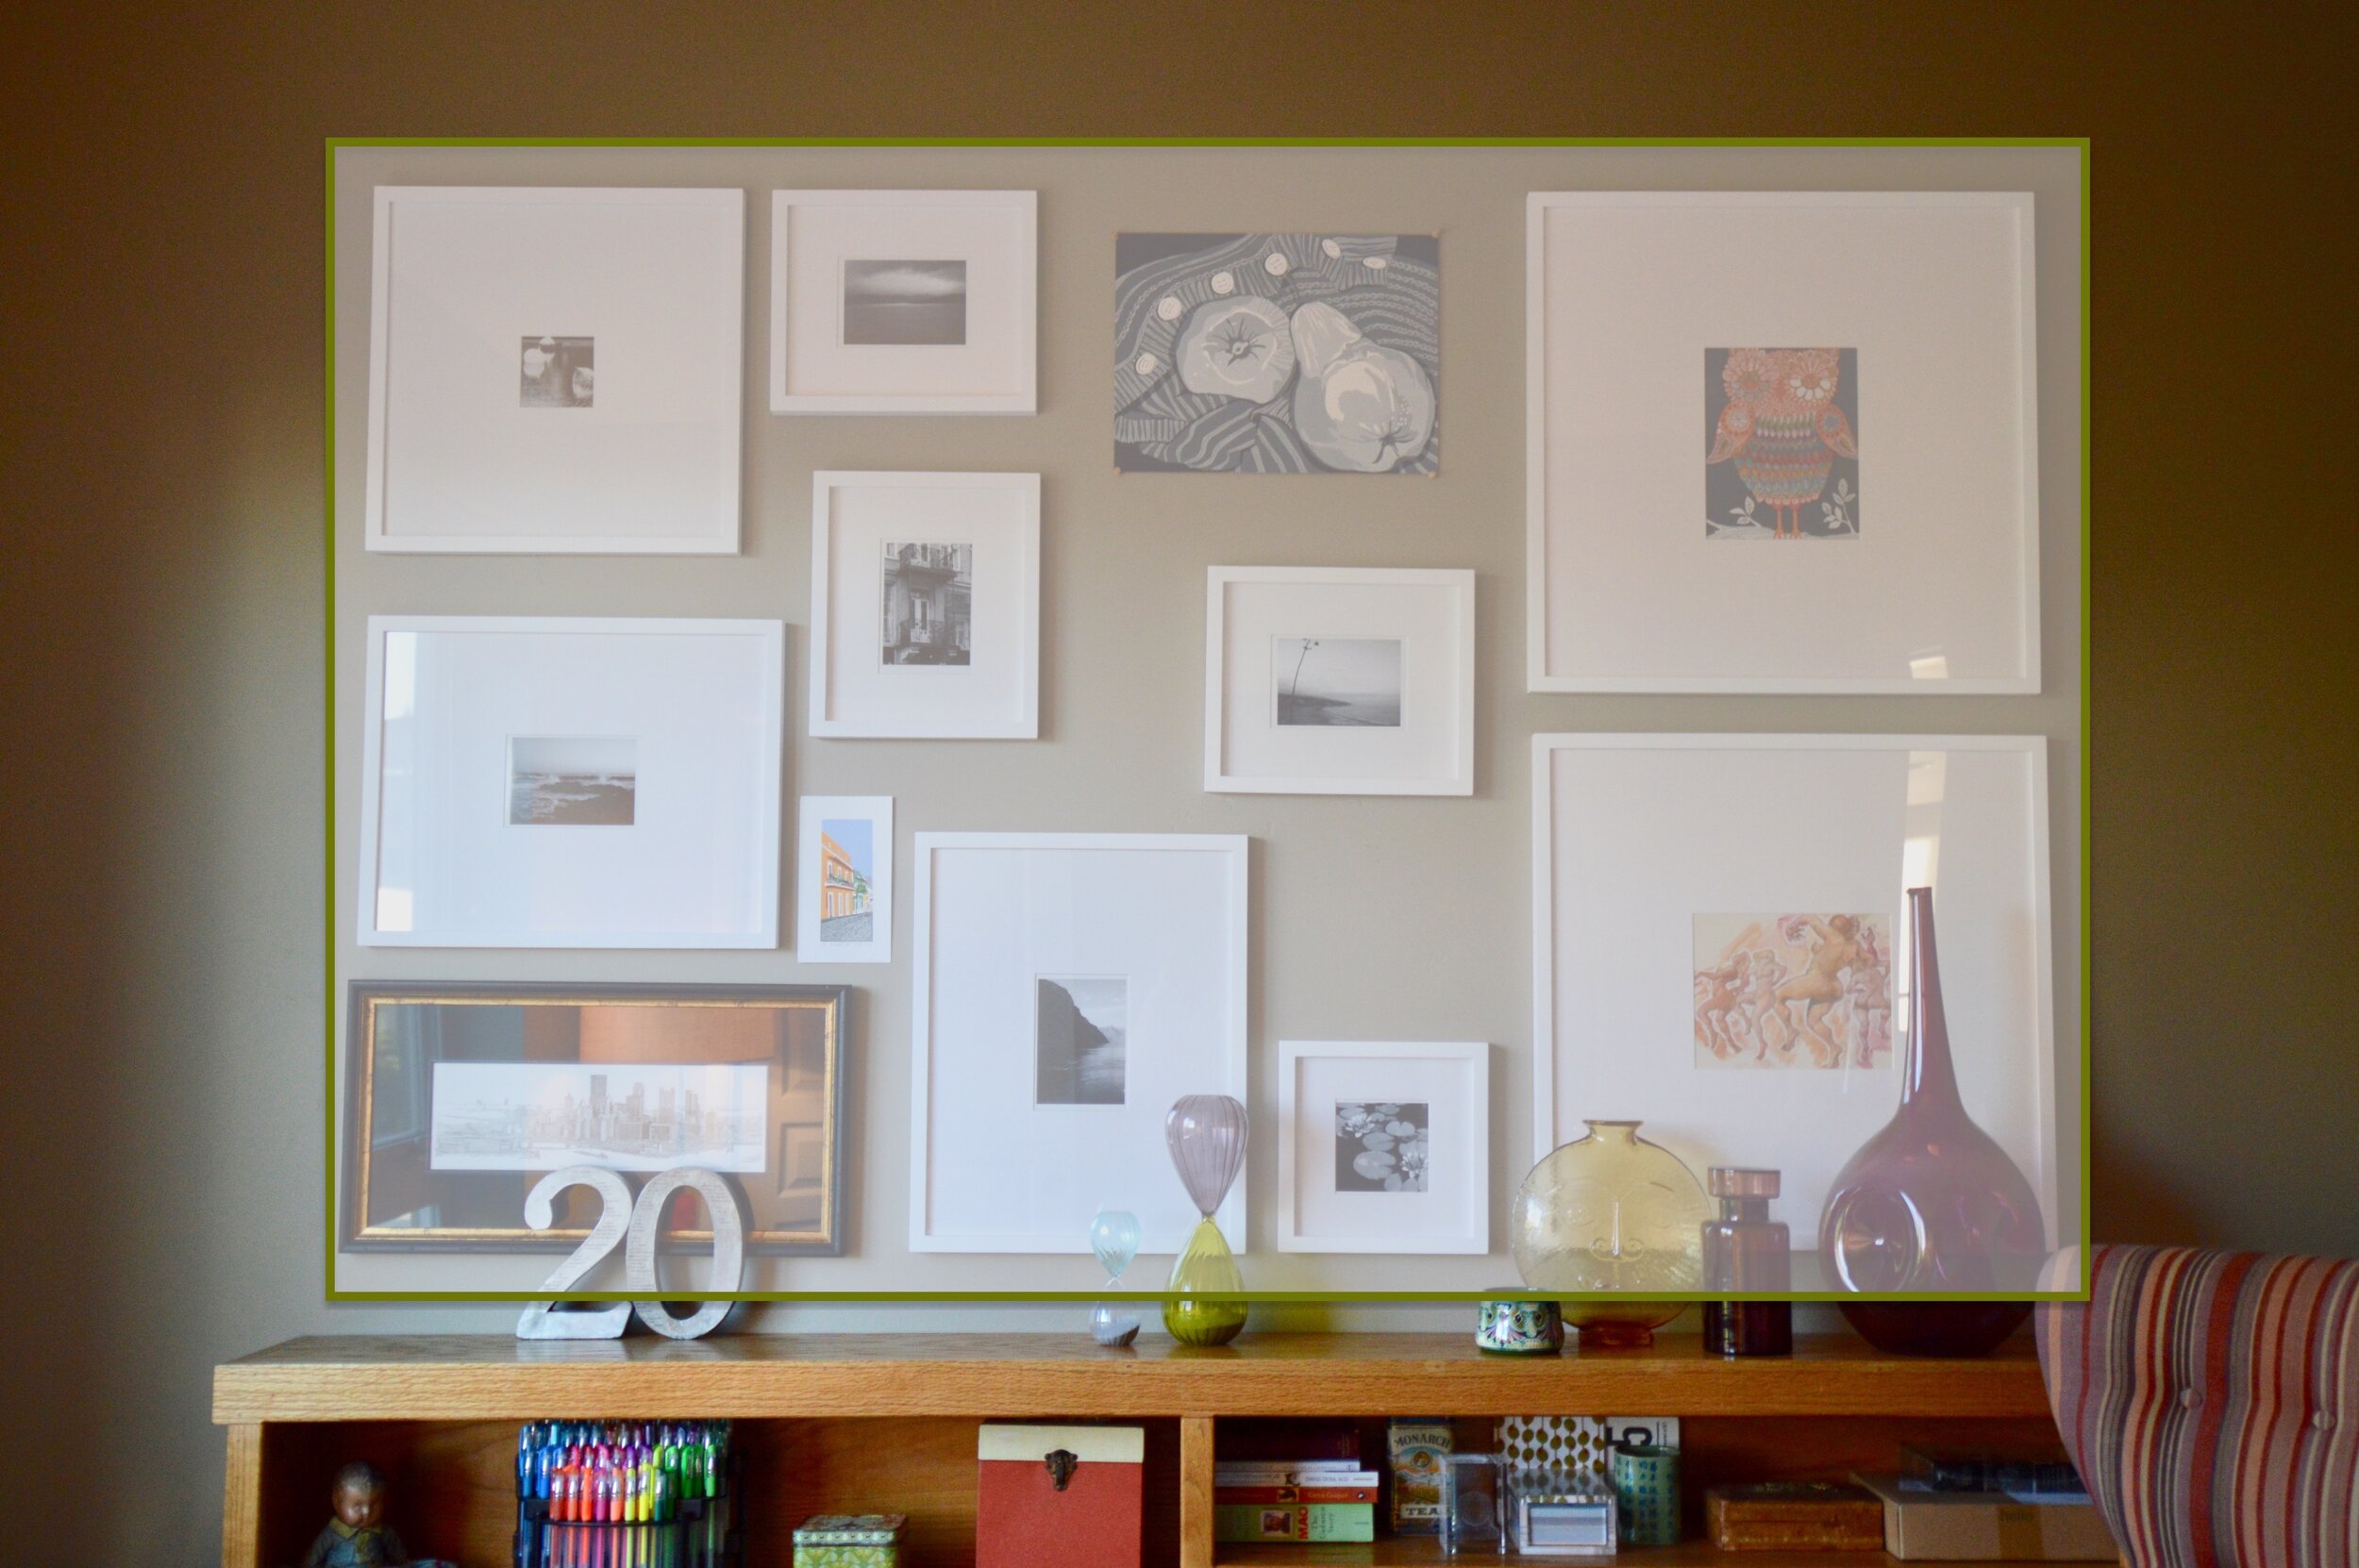
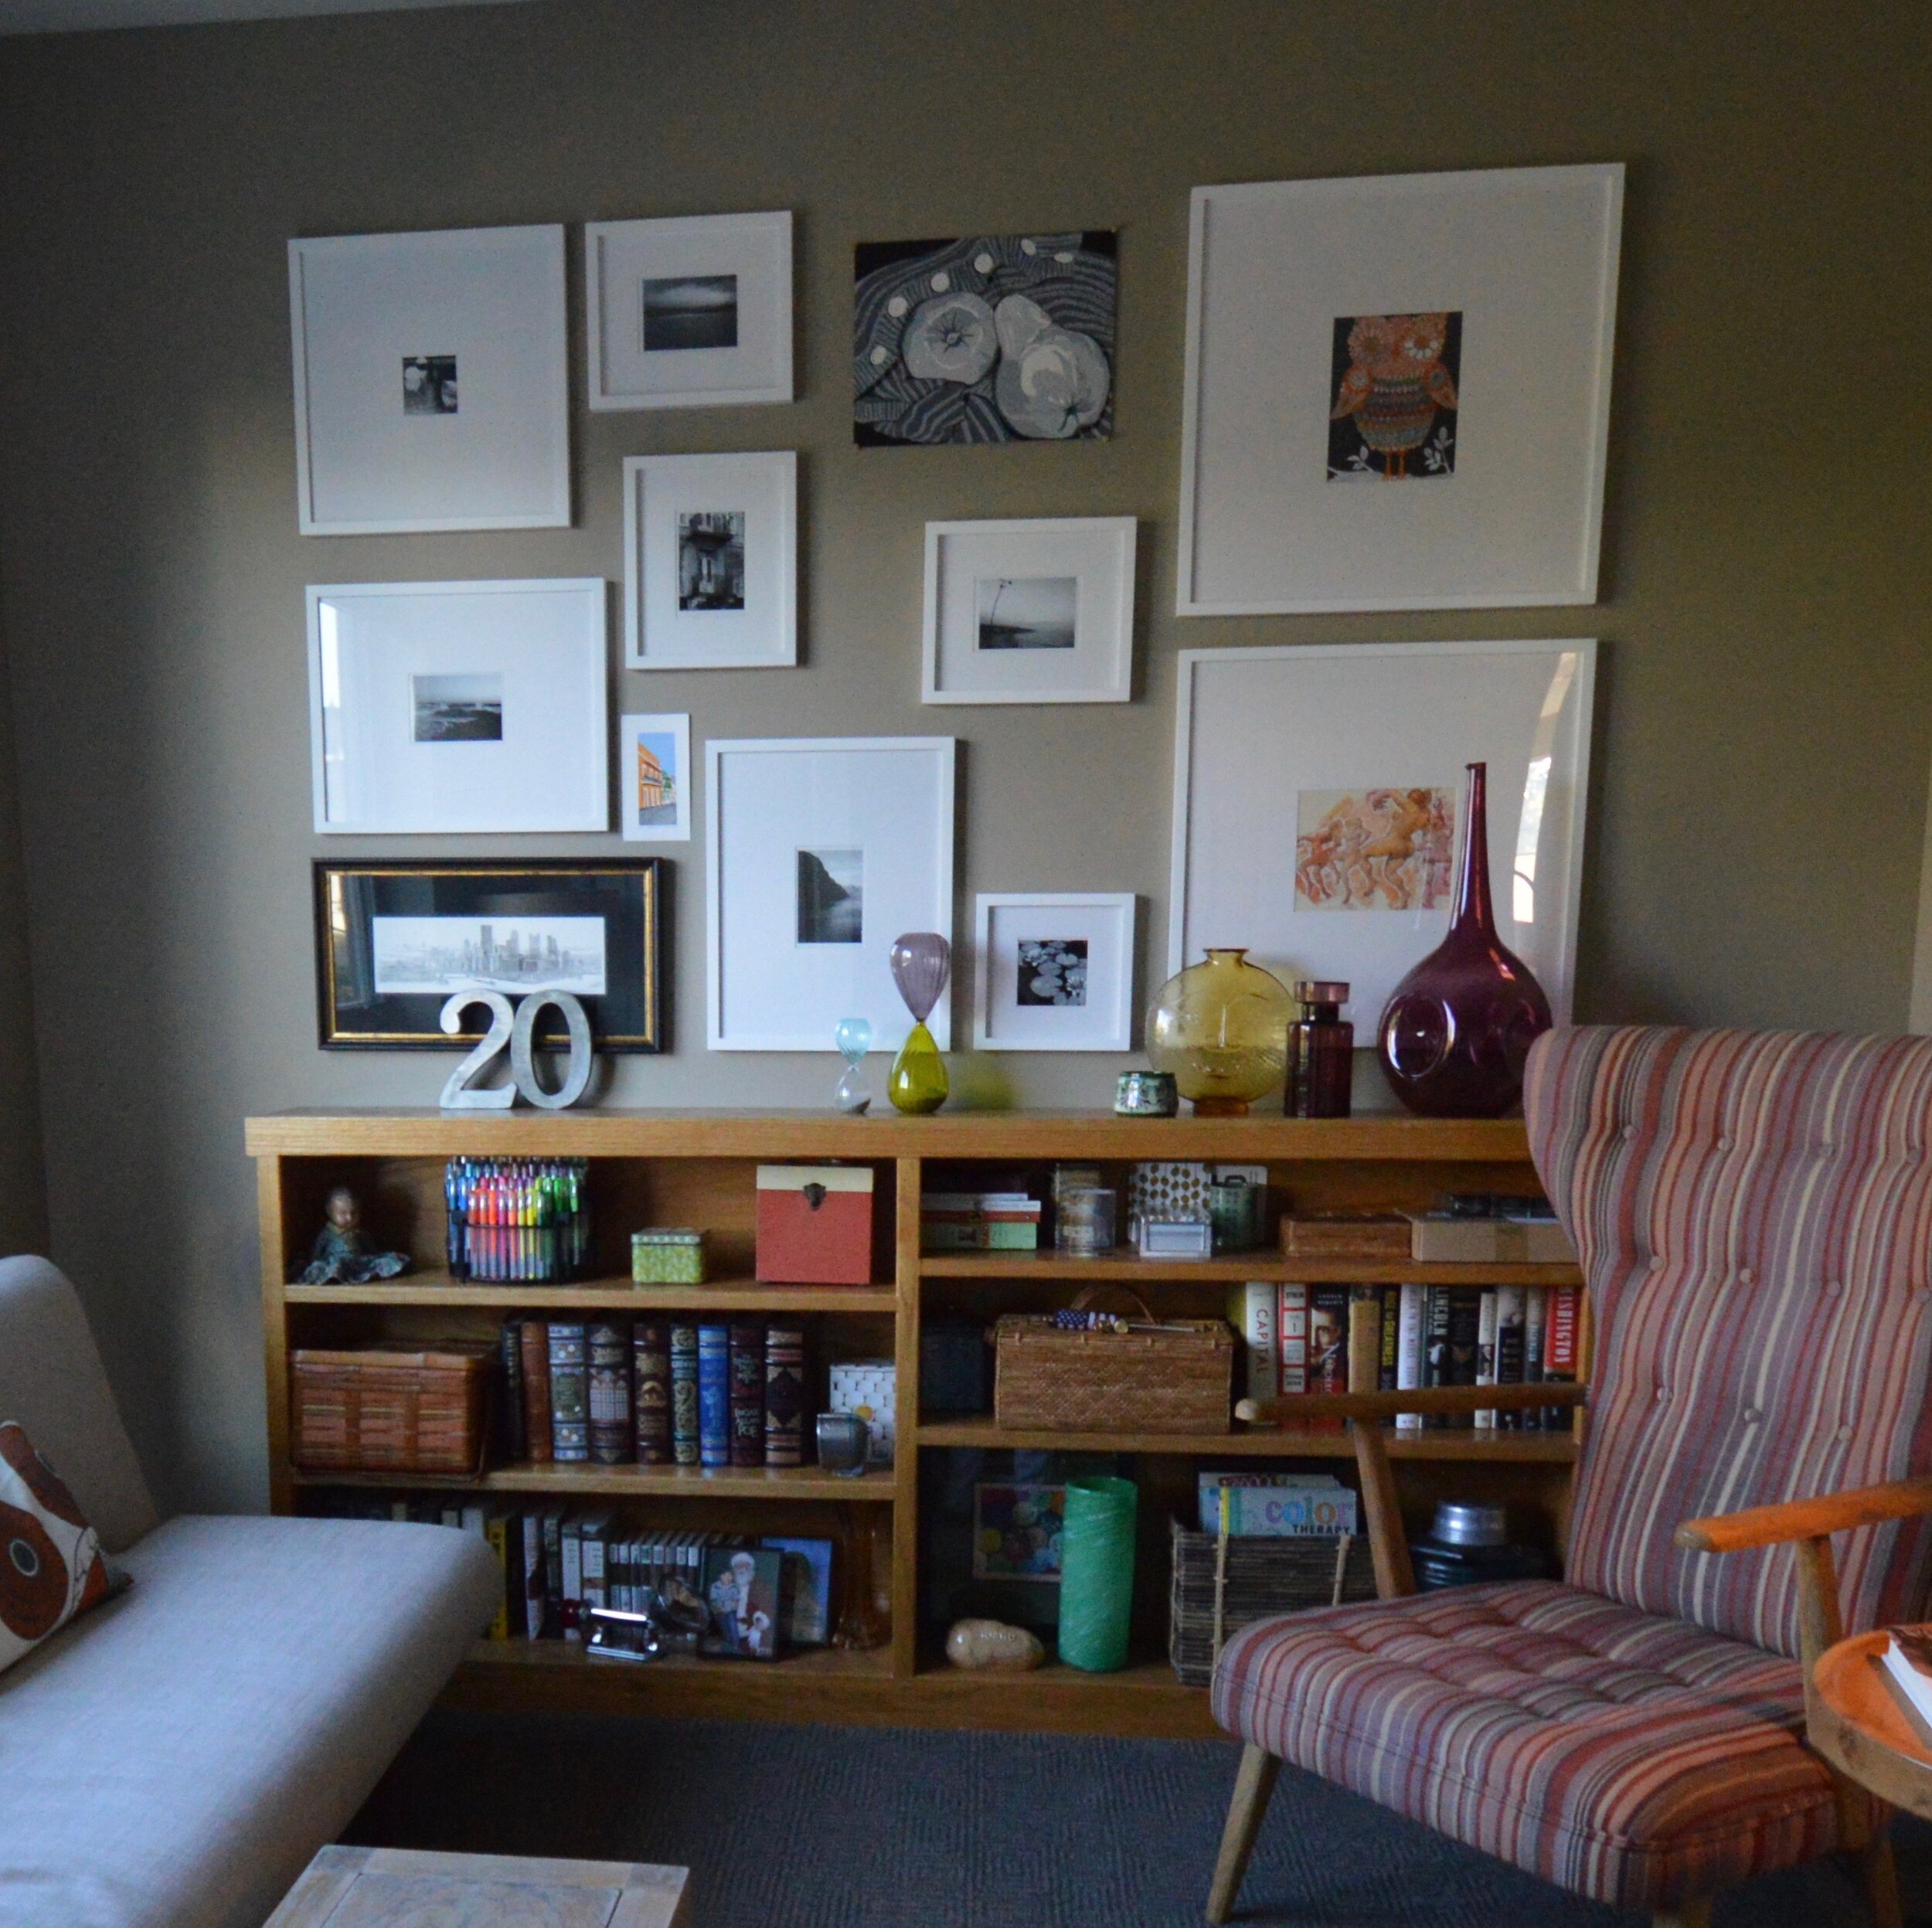
Hanging artwork here and there around a room can create clutter and distraction especially if it is done in a small room. In this room I have massed several pieces together creating a strong visual outer perimeter. This grouping has a dialog with the bookcase below it, and it fills most of the wall. By using the same frame and matte on the majority of the work and massing them closely together, they read as one composition, and it helps to make this small room feel larger. Feel free to leave spaces open if you don’t have enough pieces to fill an entire wall. I always have gaps in my mass arrangements when I first hang them, but they eventually get filled over time as I find new works of art.
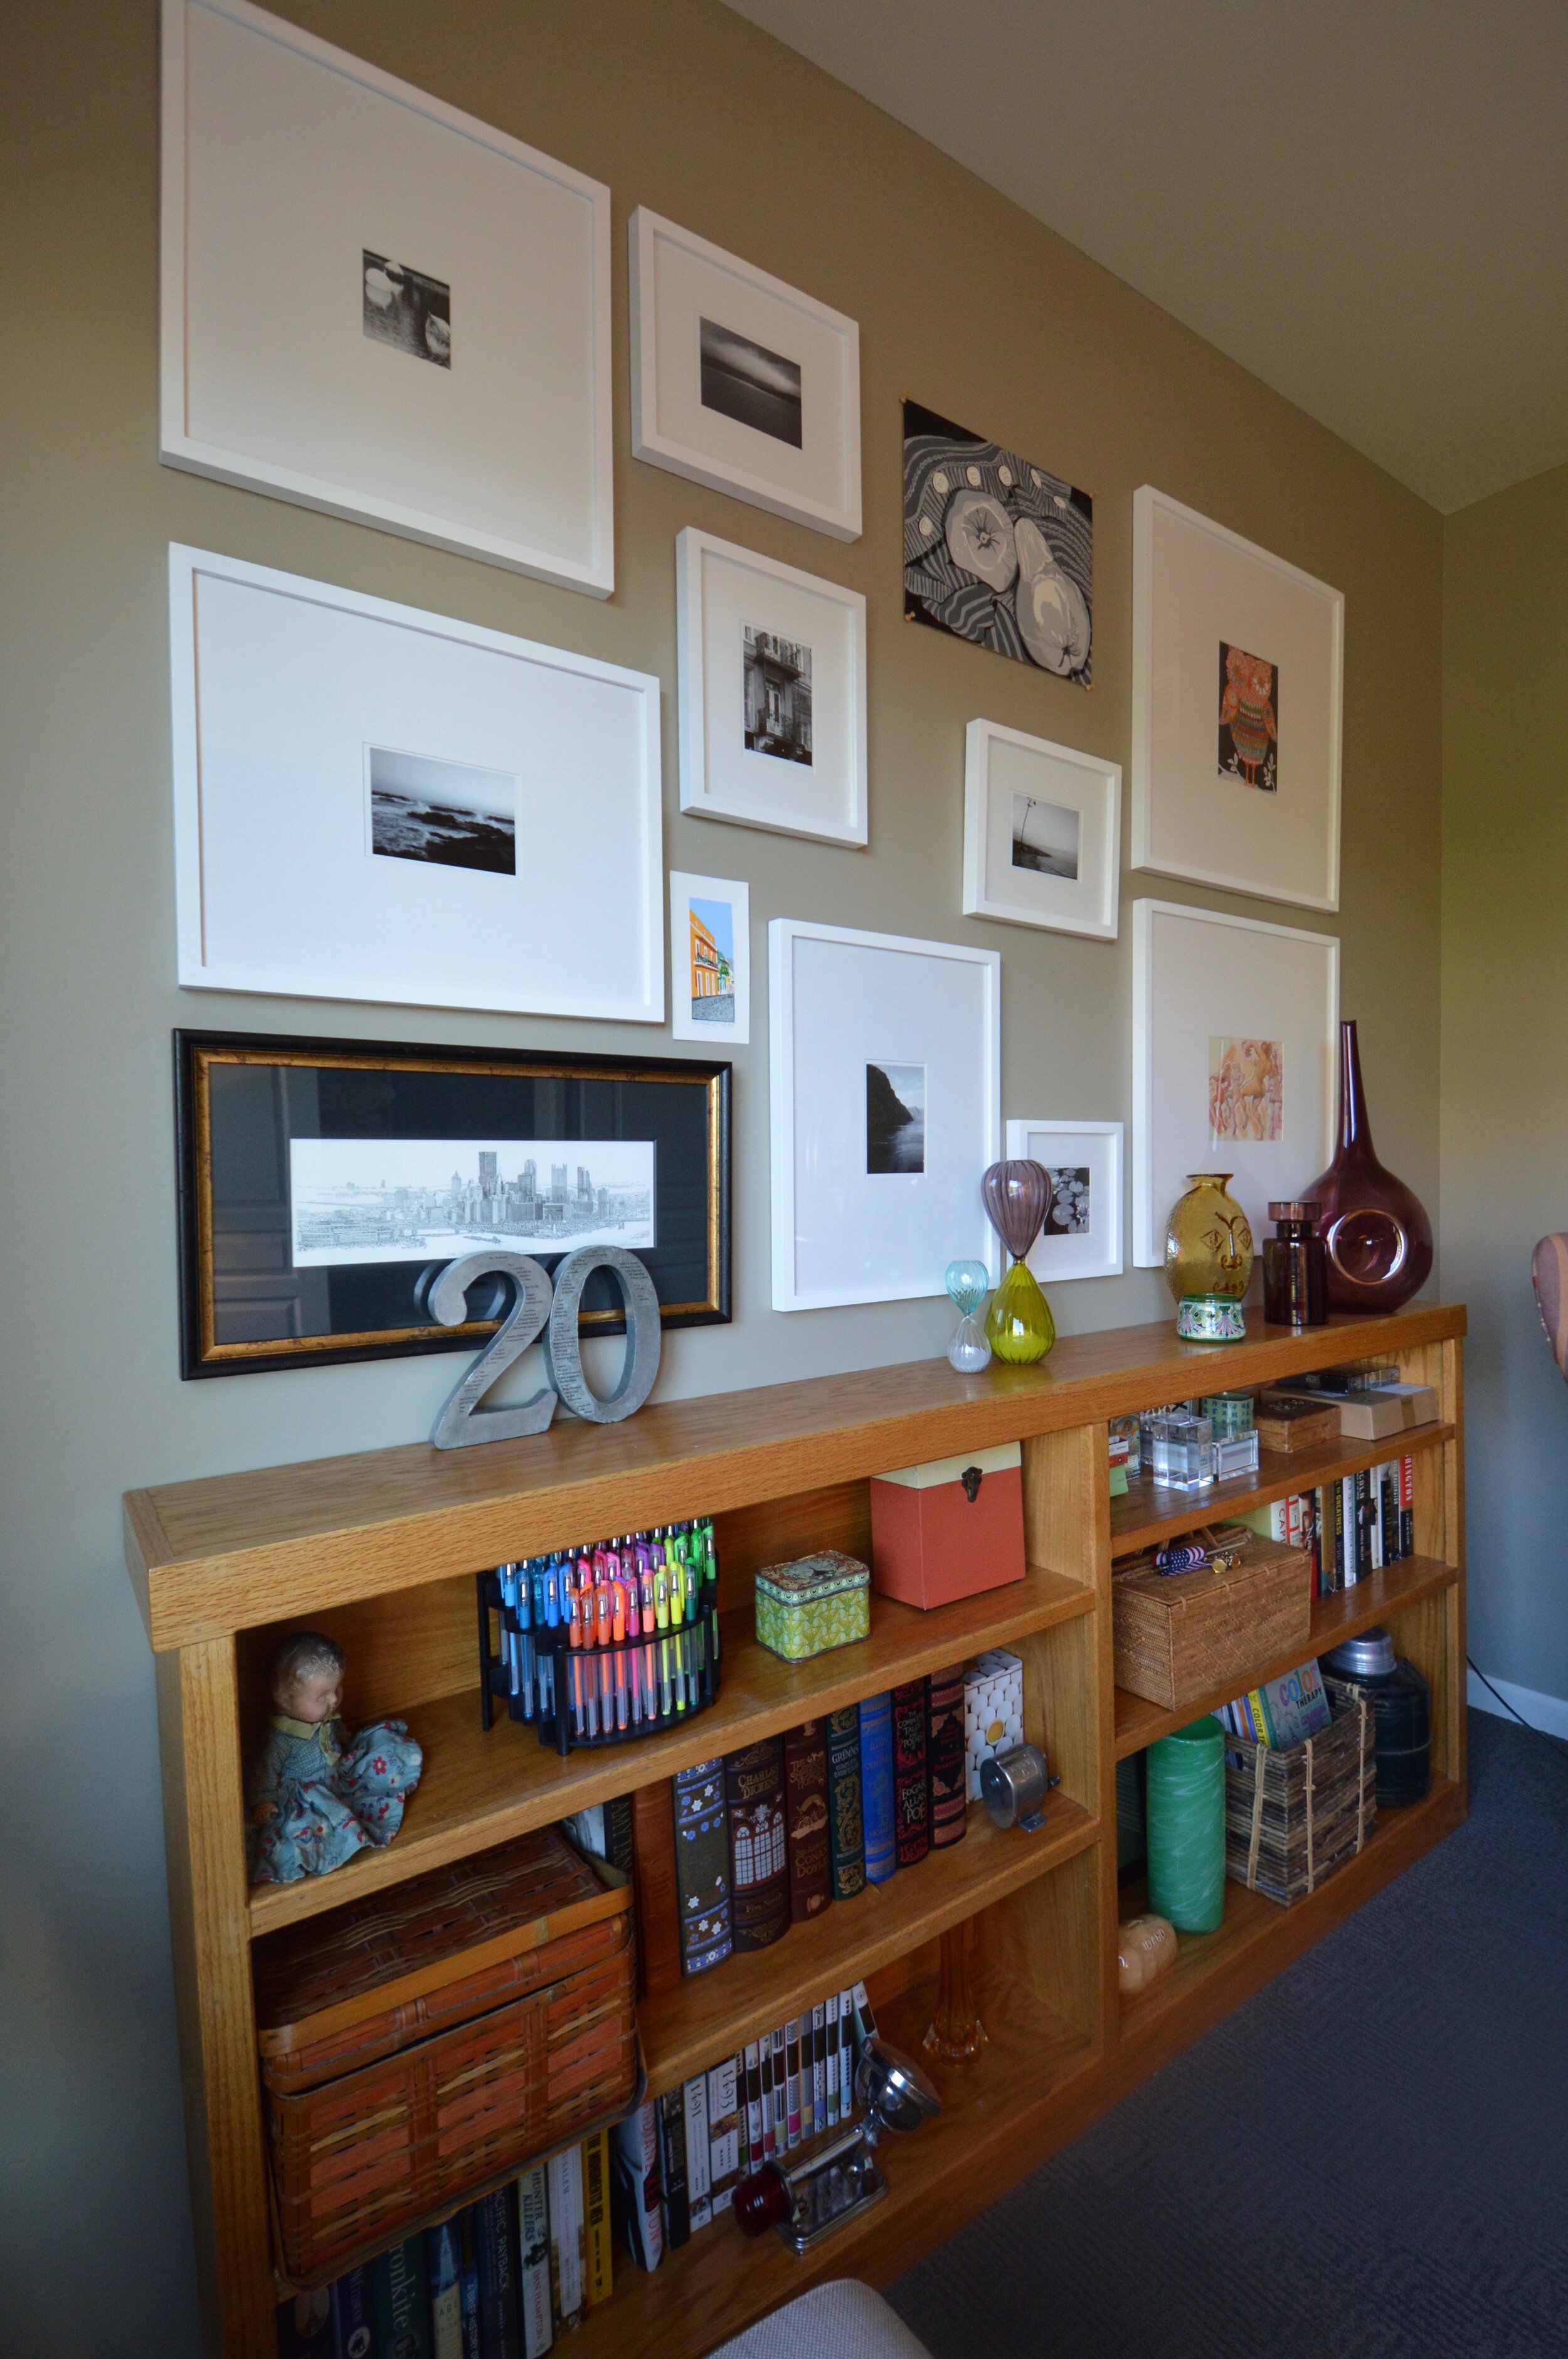
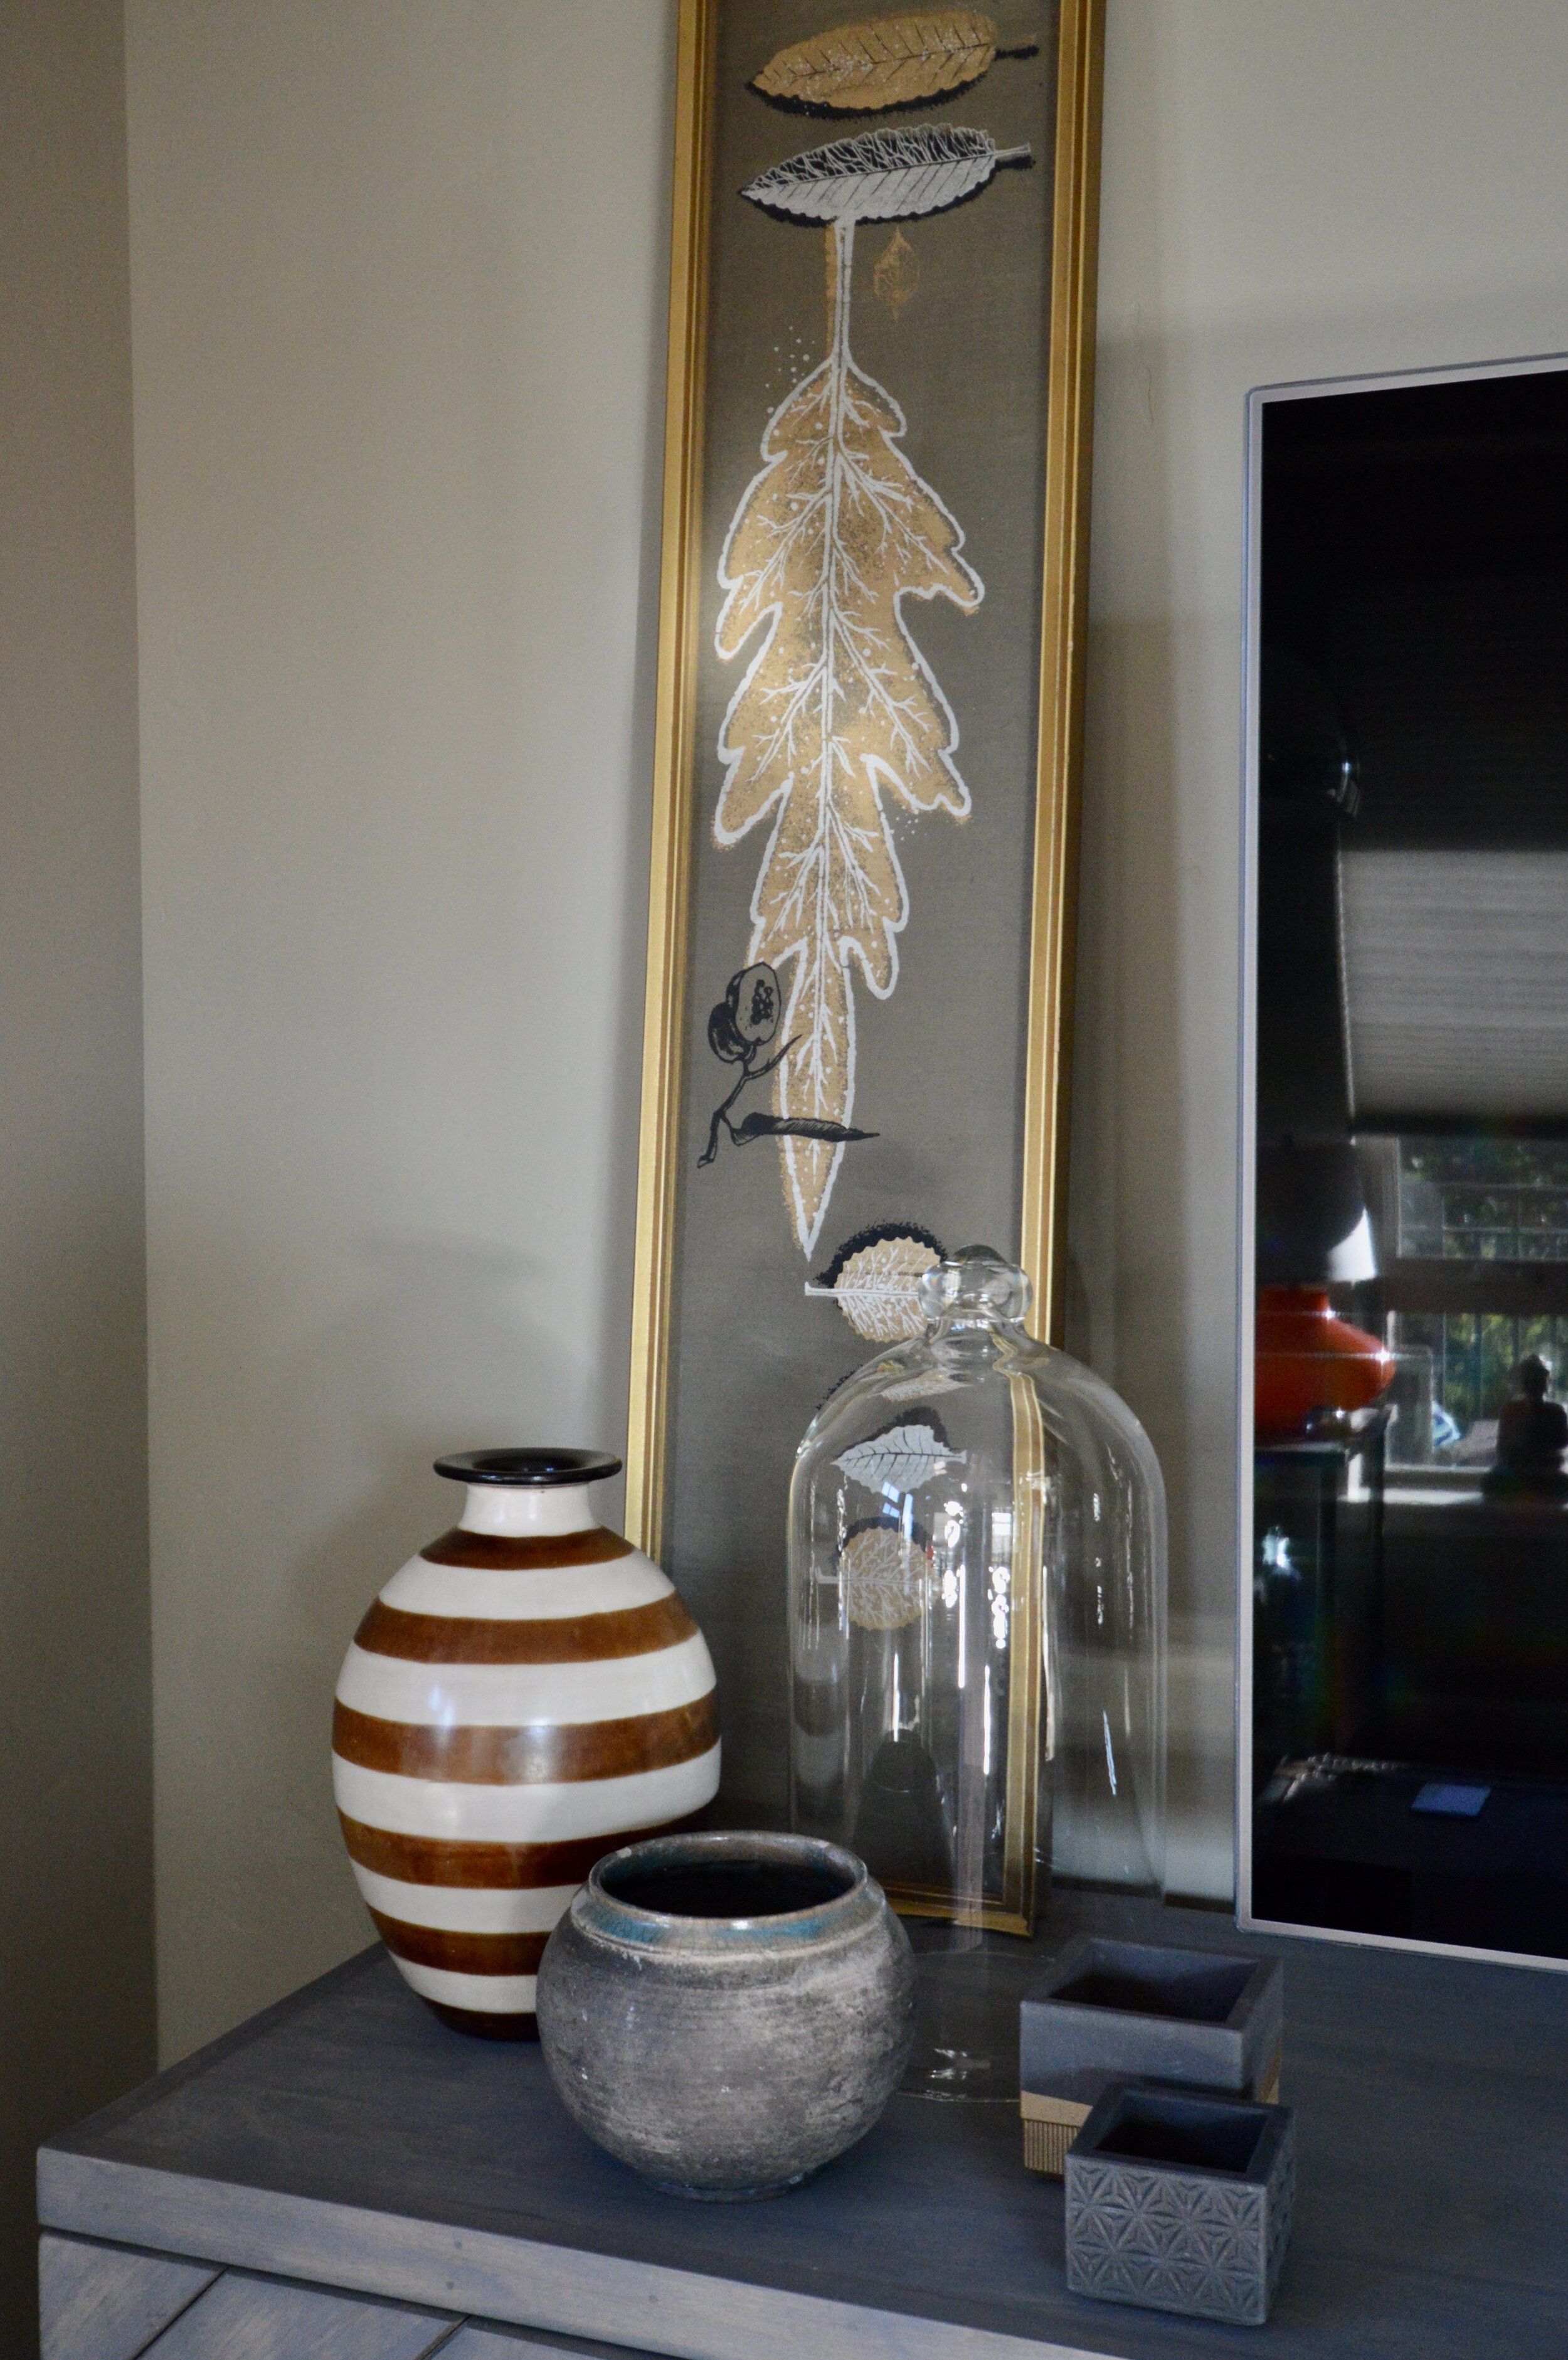
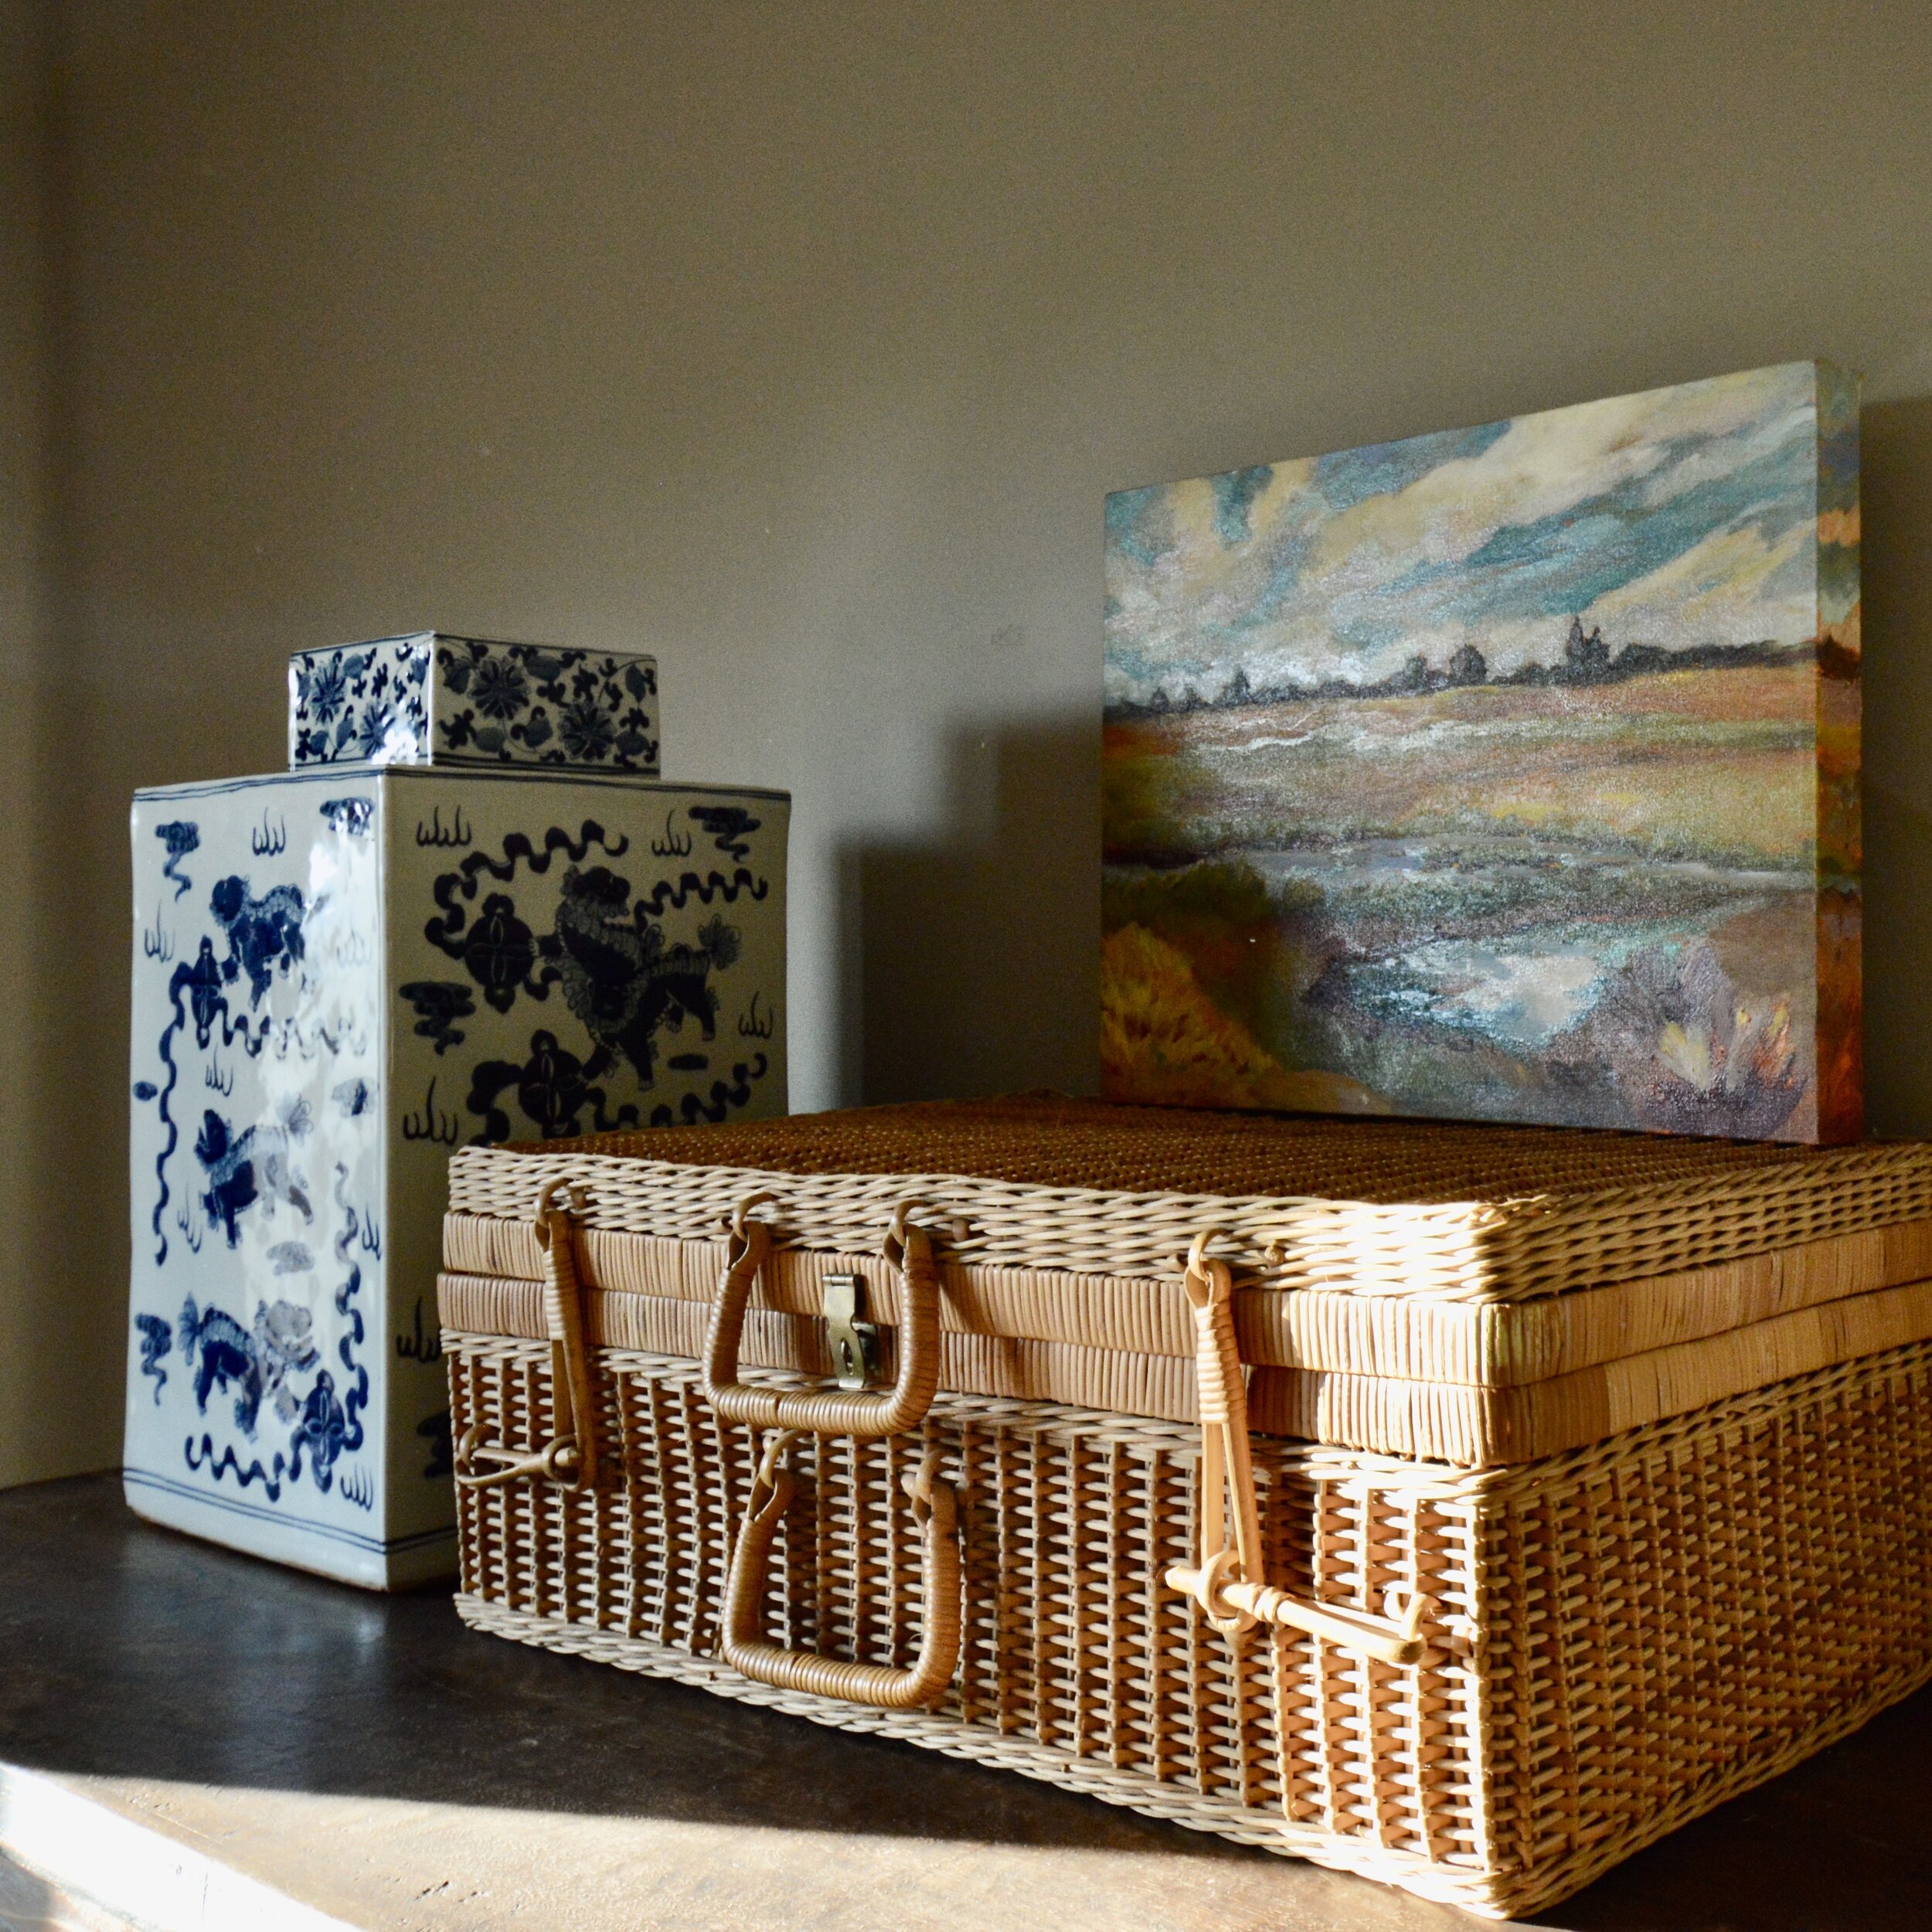
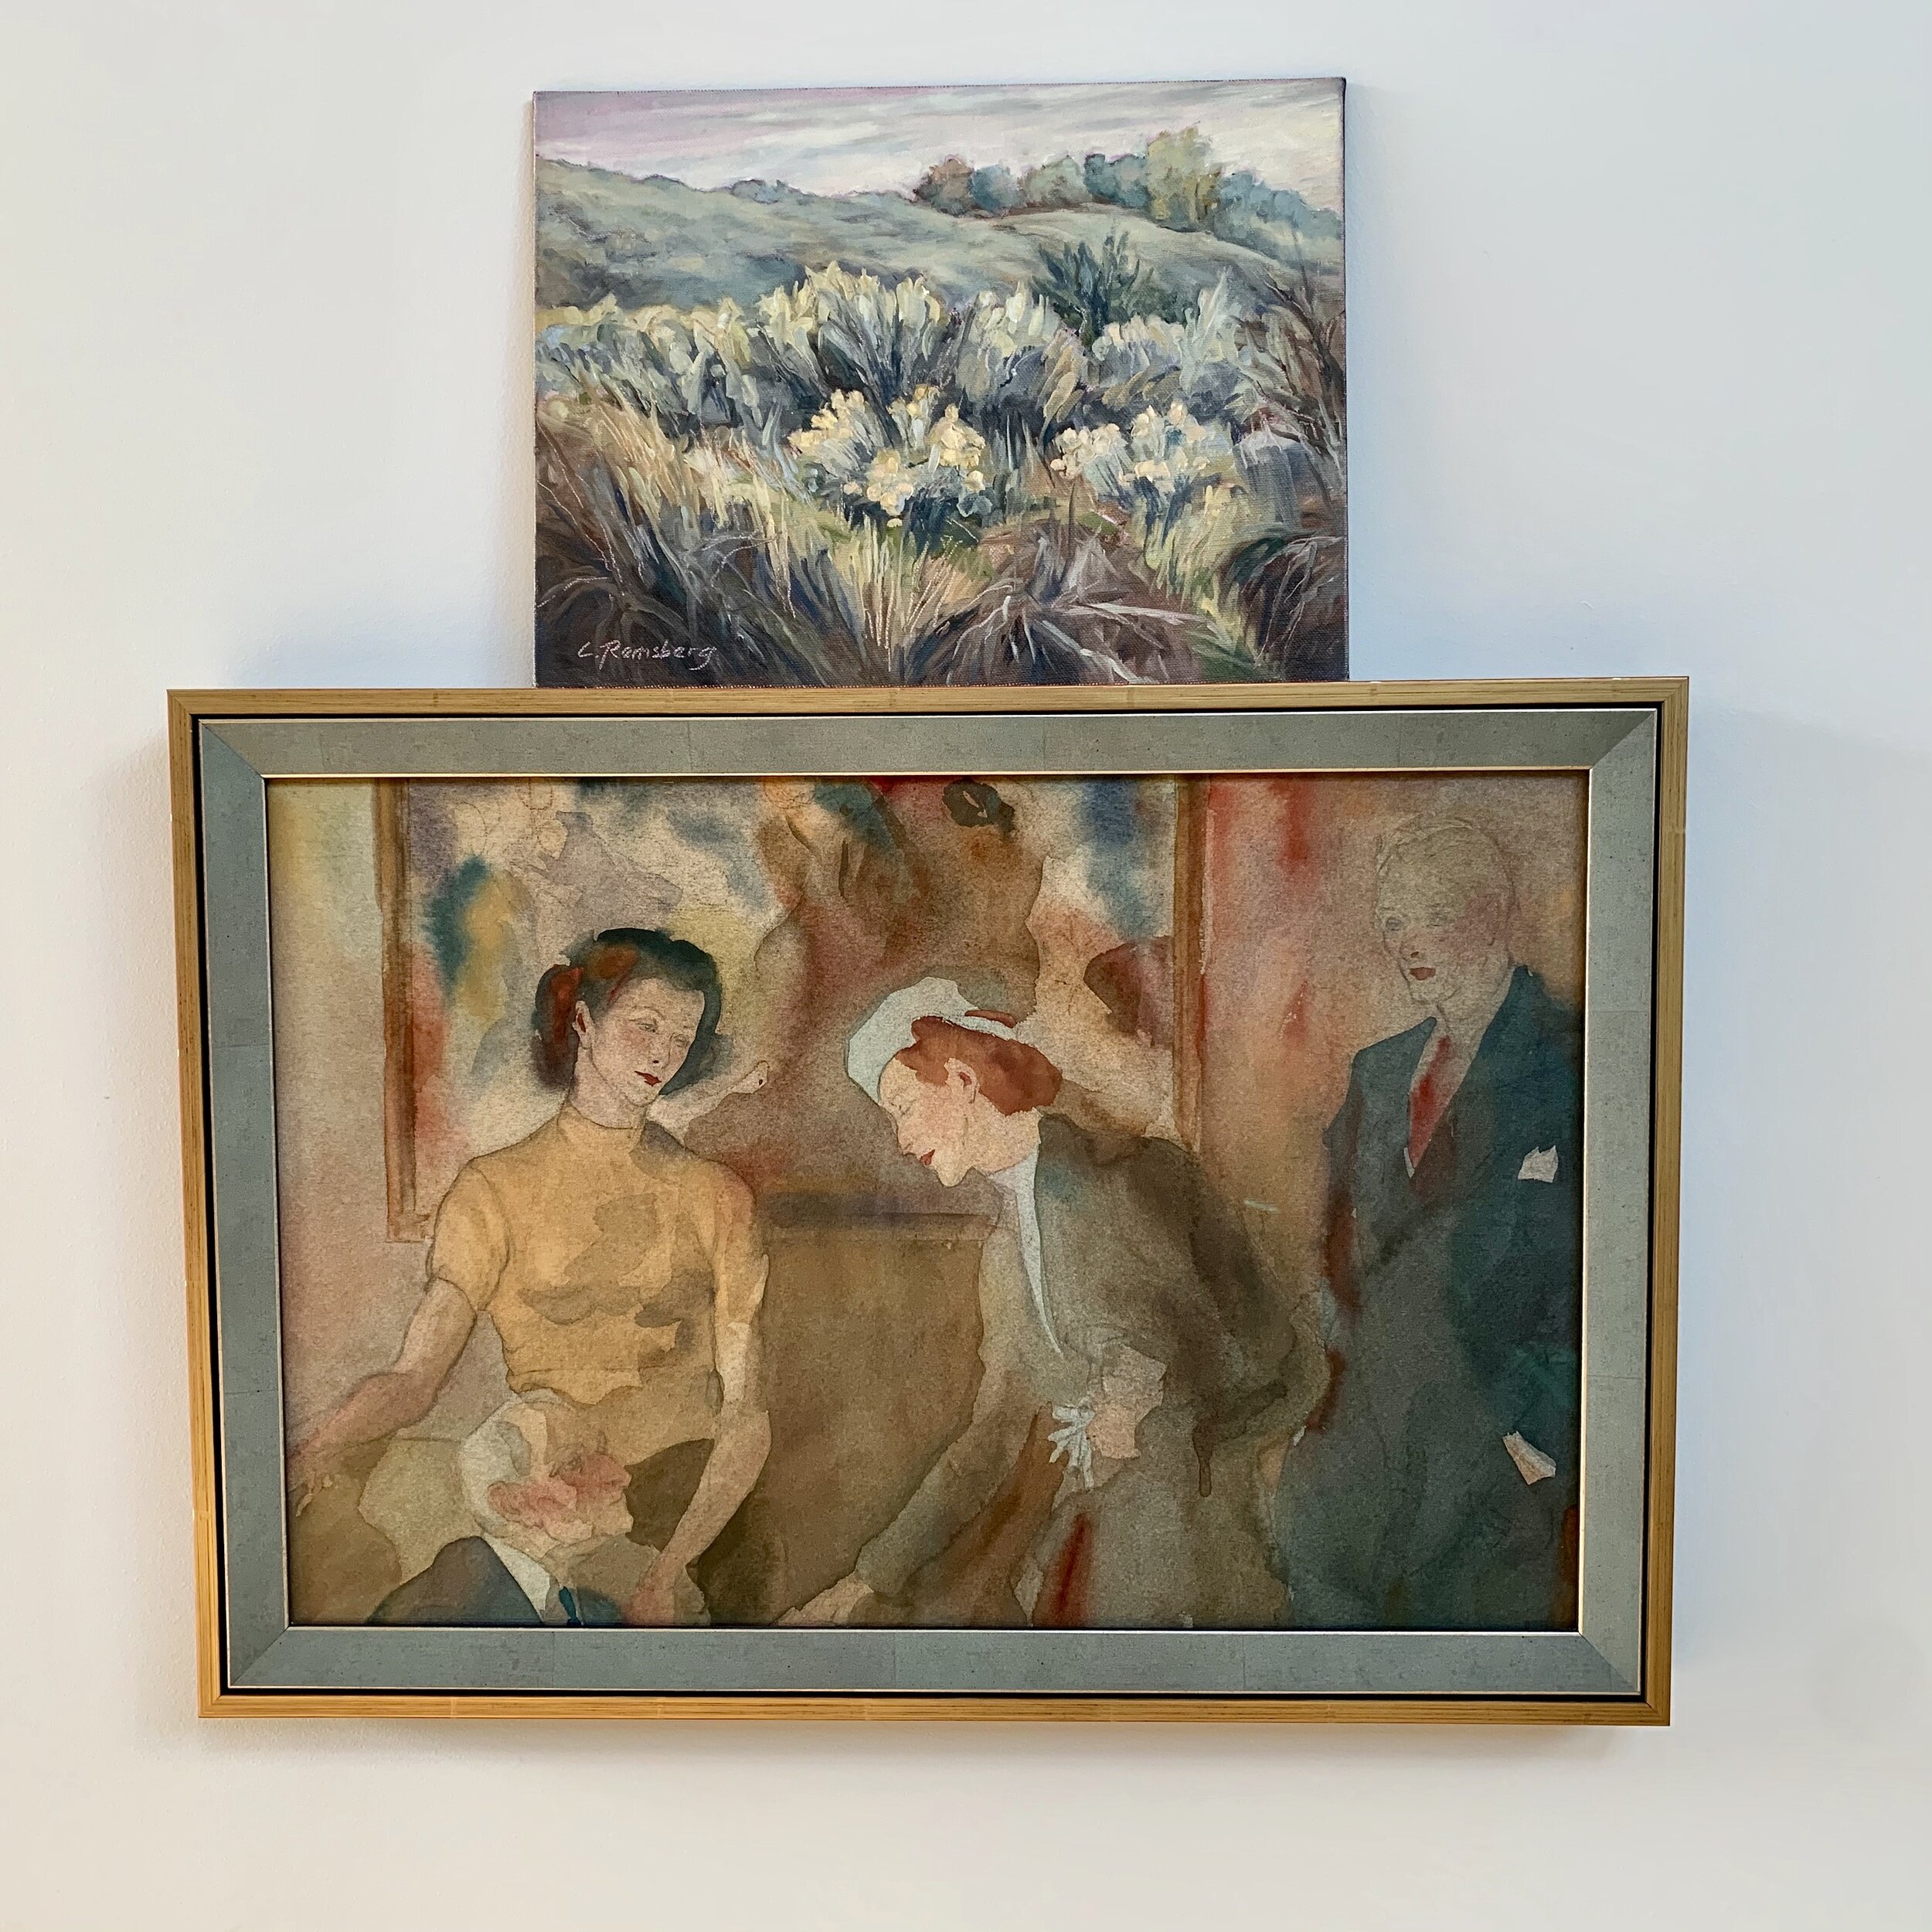
This leads me to another tip: don’t wait until you have the “perfect” grouping to display your artwork. Although it is sometimes necessary to find more work to complete a display and hang it, you can lean artwork along a wall, atop other works of art, prop it on credenzas or in bookcases until you have amassed just the right collection to adorn your walls.
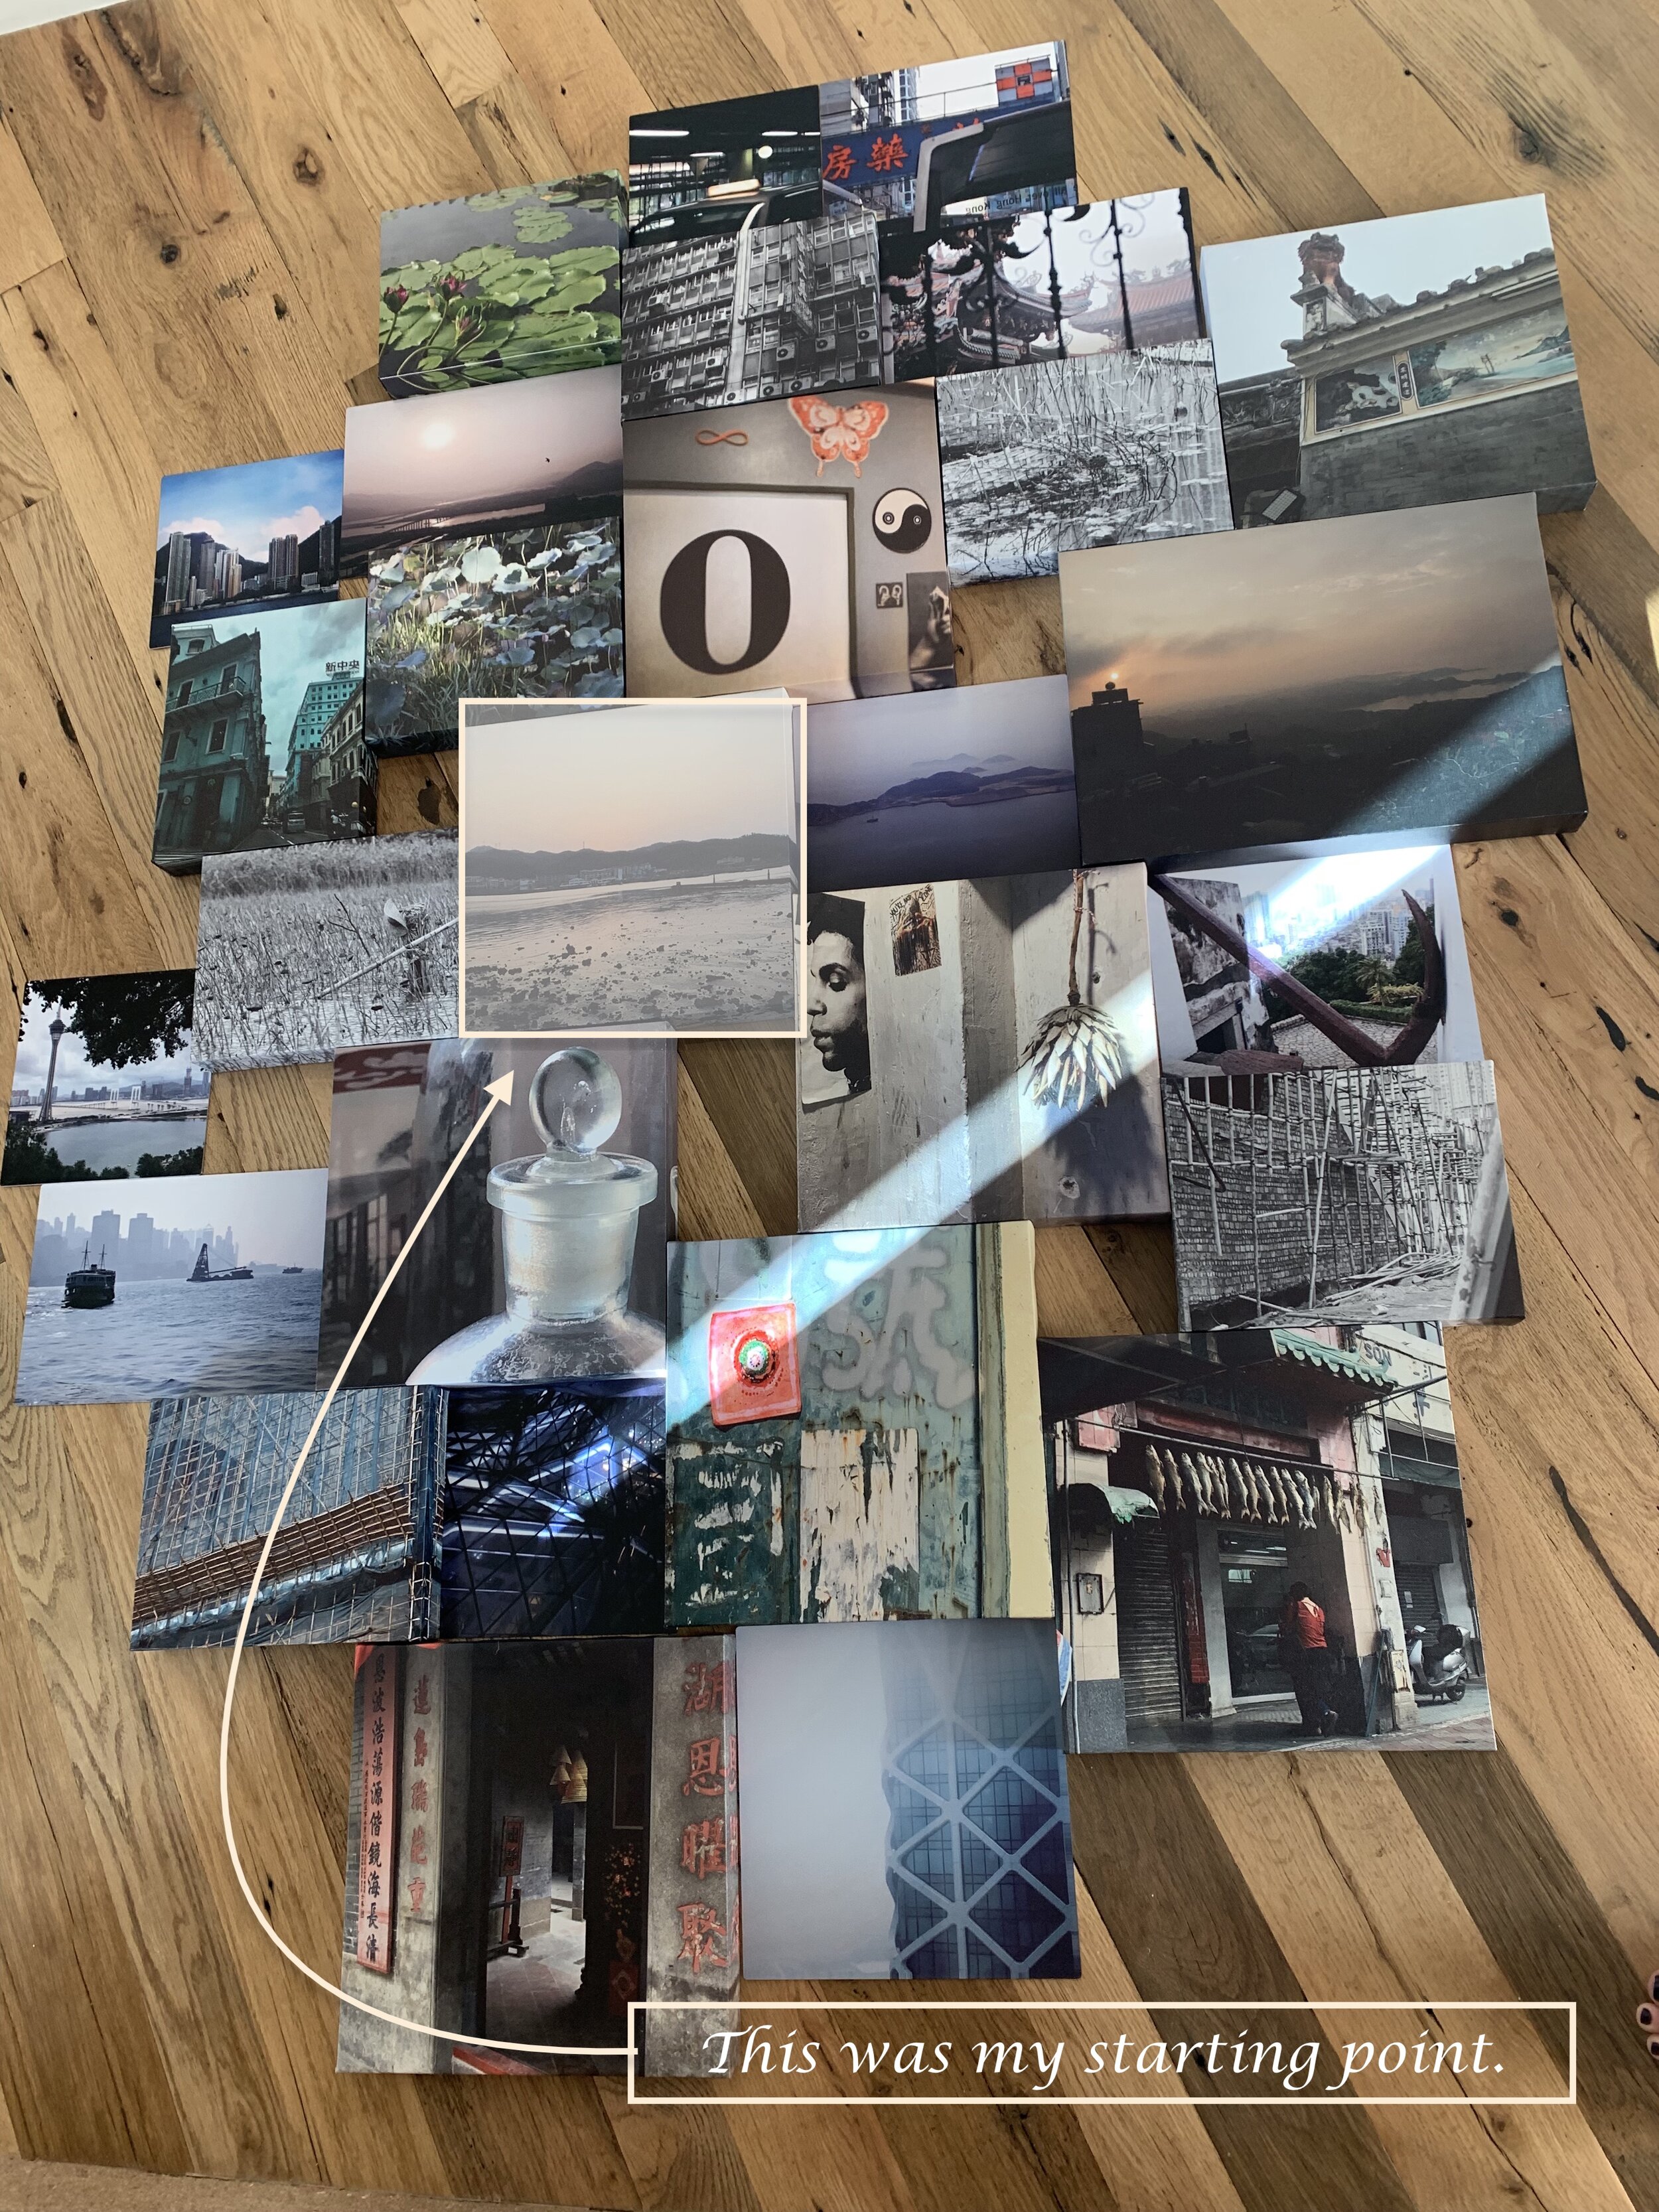
Planning a grouping can be daunting for some people. If you fall into this group, you can relax. Start by laying your collection out on the floor. Keep it there for several days if possible. Your gut reaction to it as you pass by it on a daily basis can steer you in the right direction. That’s what I did with this grouping. It took me four days to find the right configuration. I tweaked it little by little over those four days until I walked by it one morning, and it just felt right.

I arranged this on the floor and left it there for four days, making adjustments day by day, until I created a grouping that felt perfect every time I glanced at it.
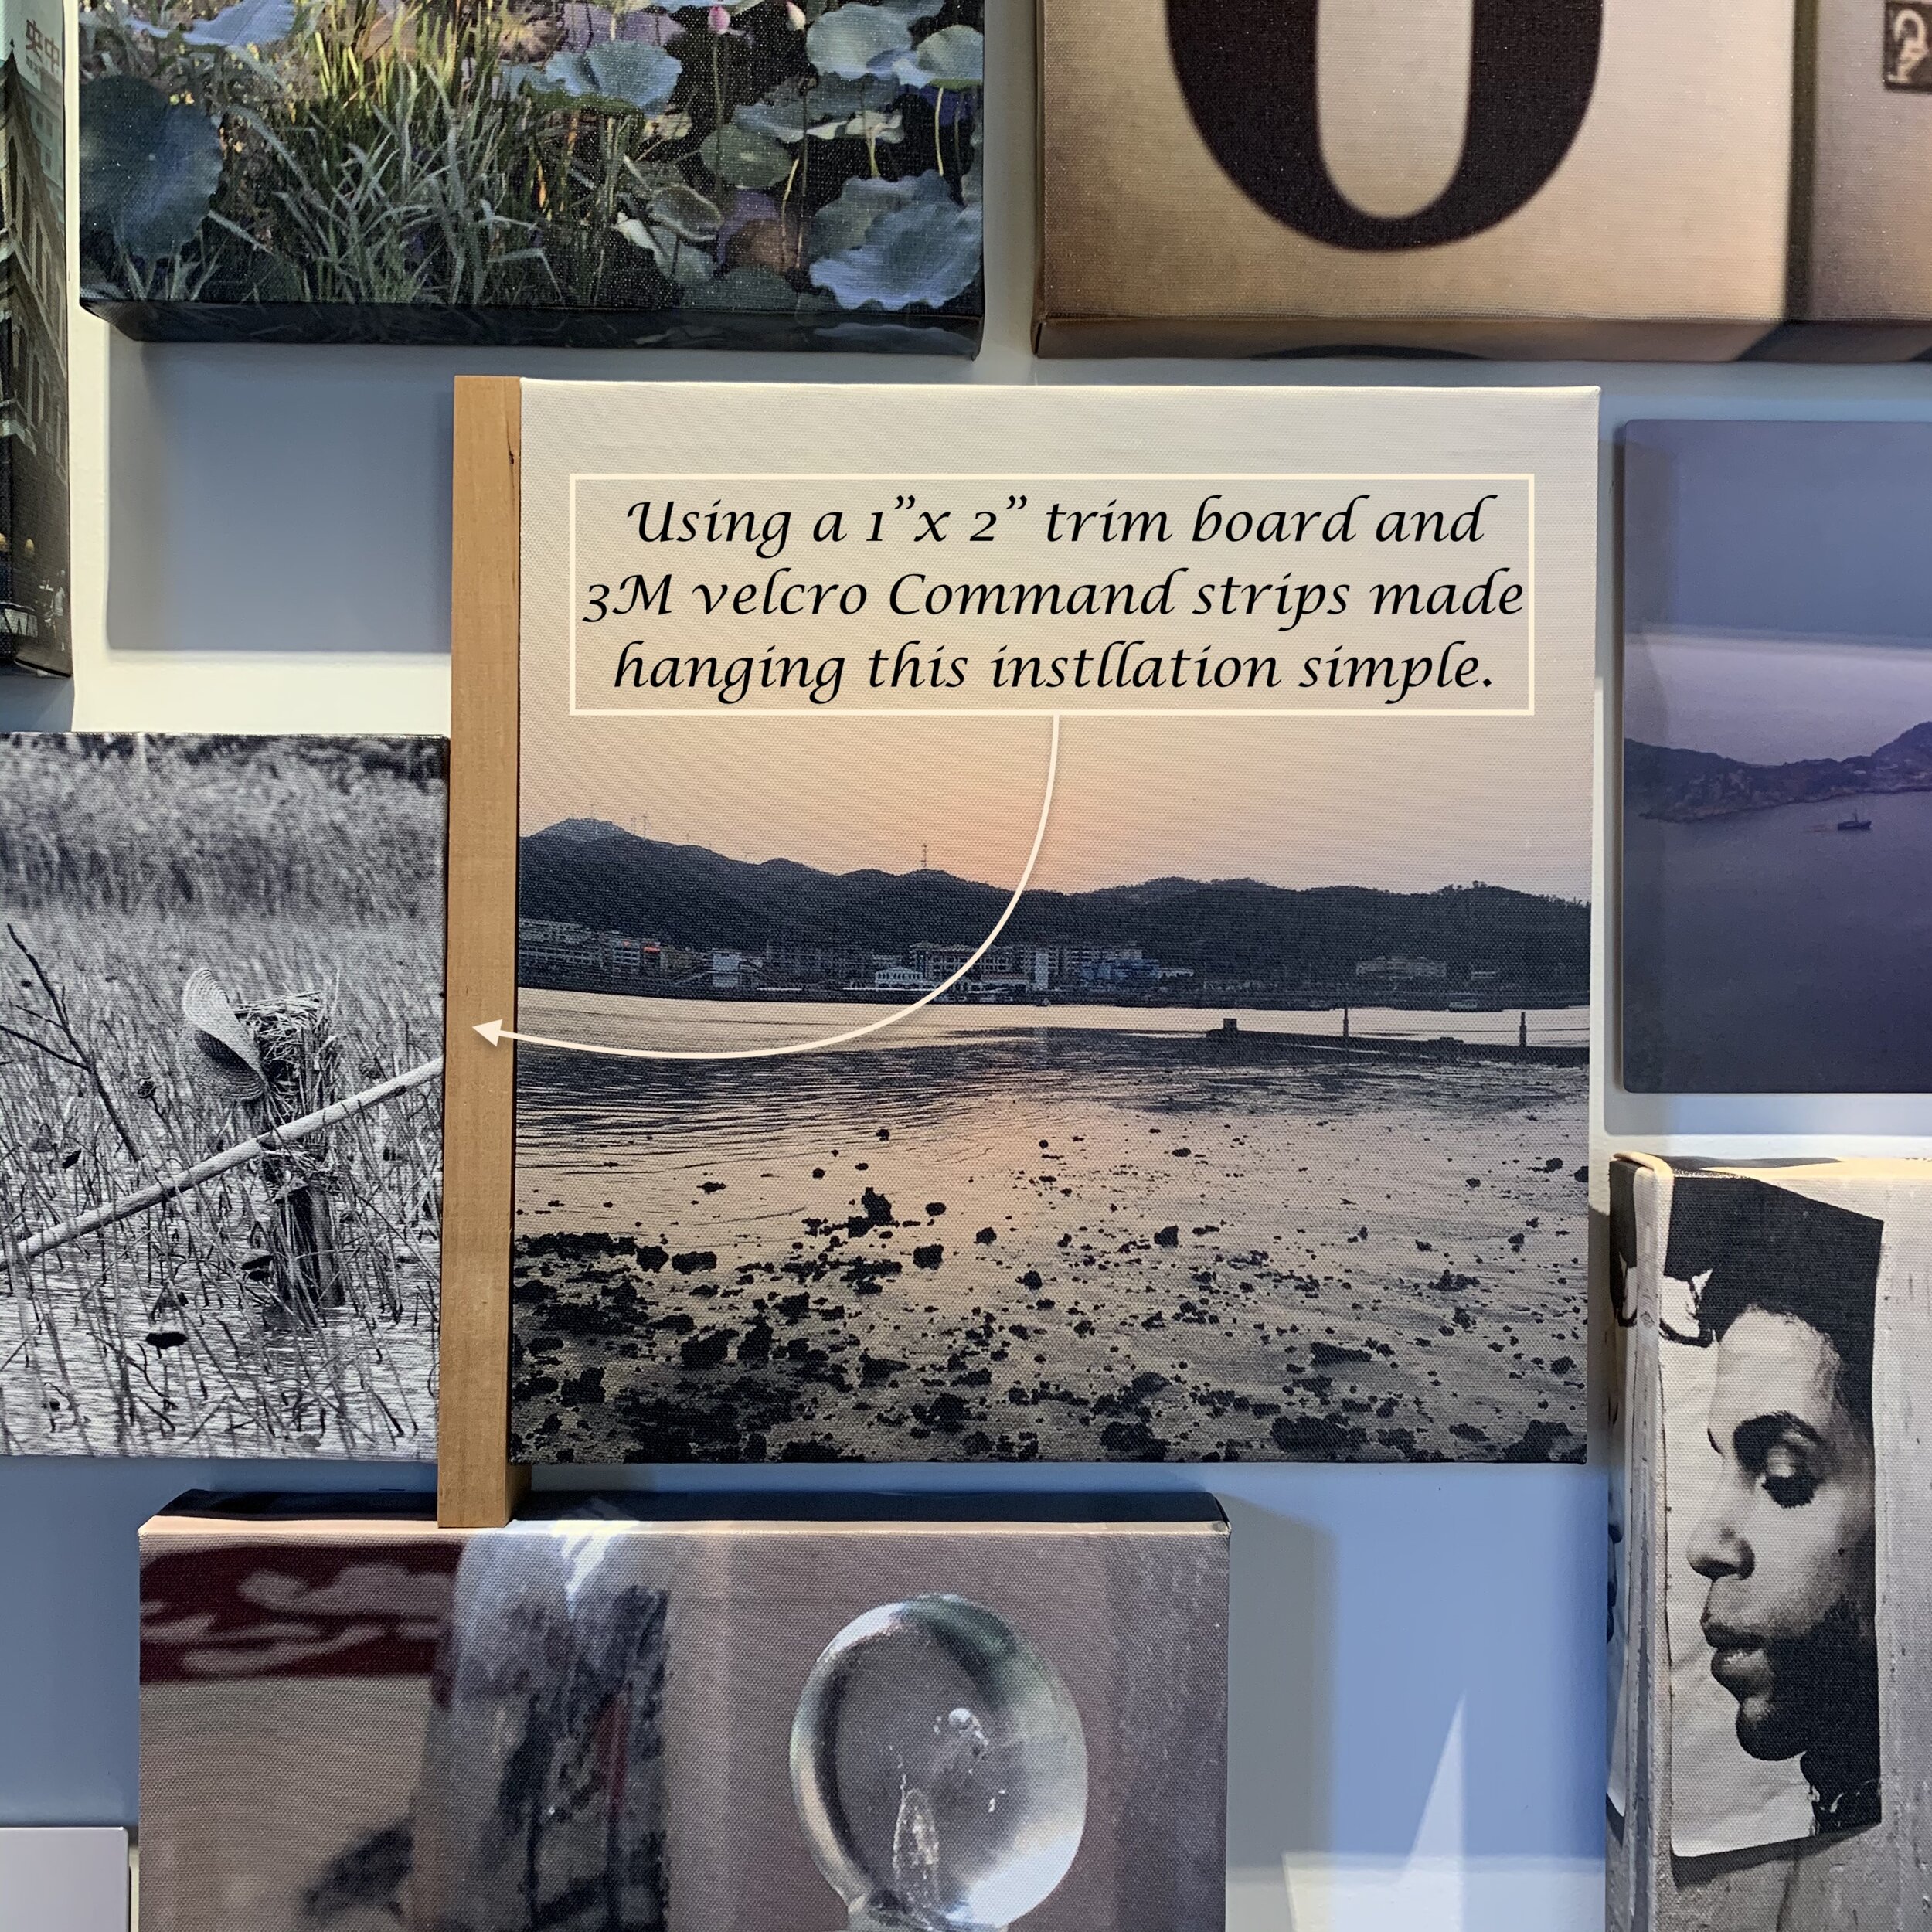
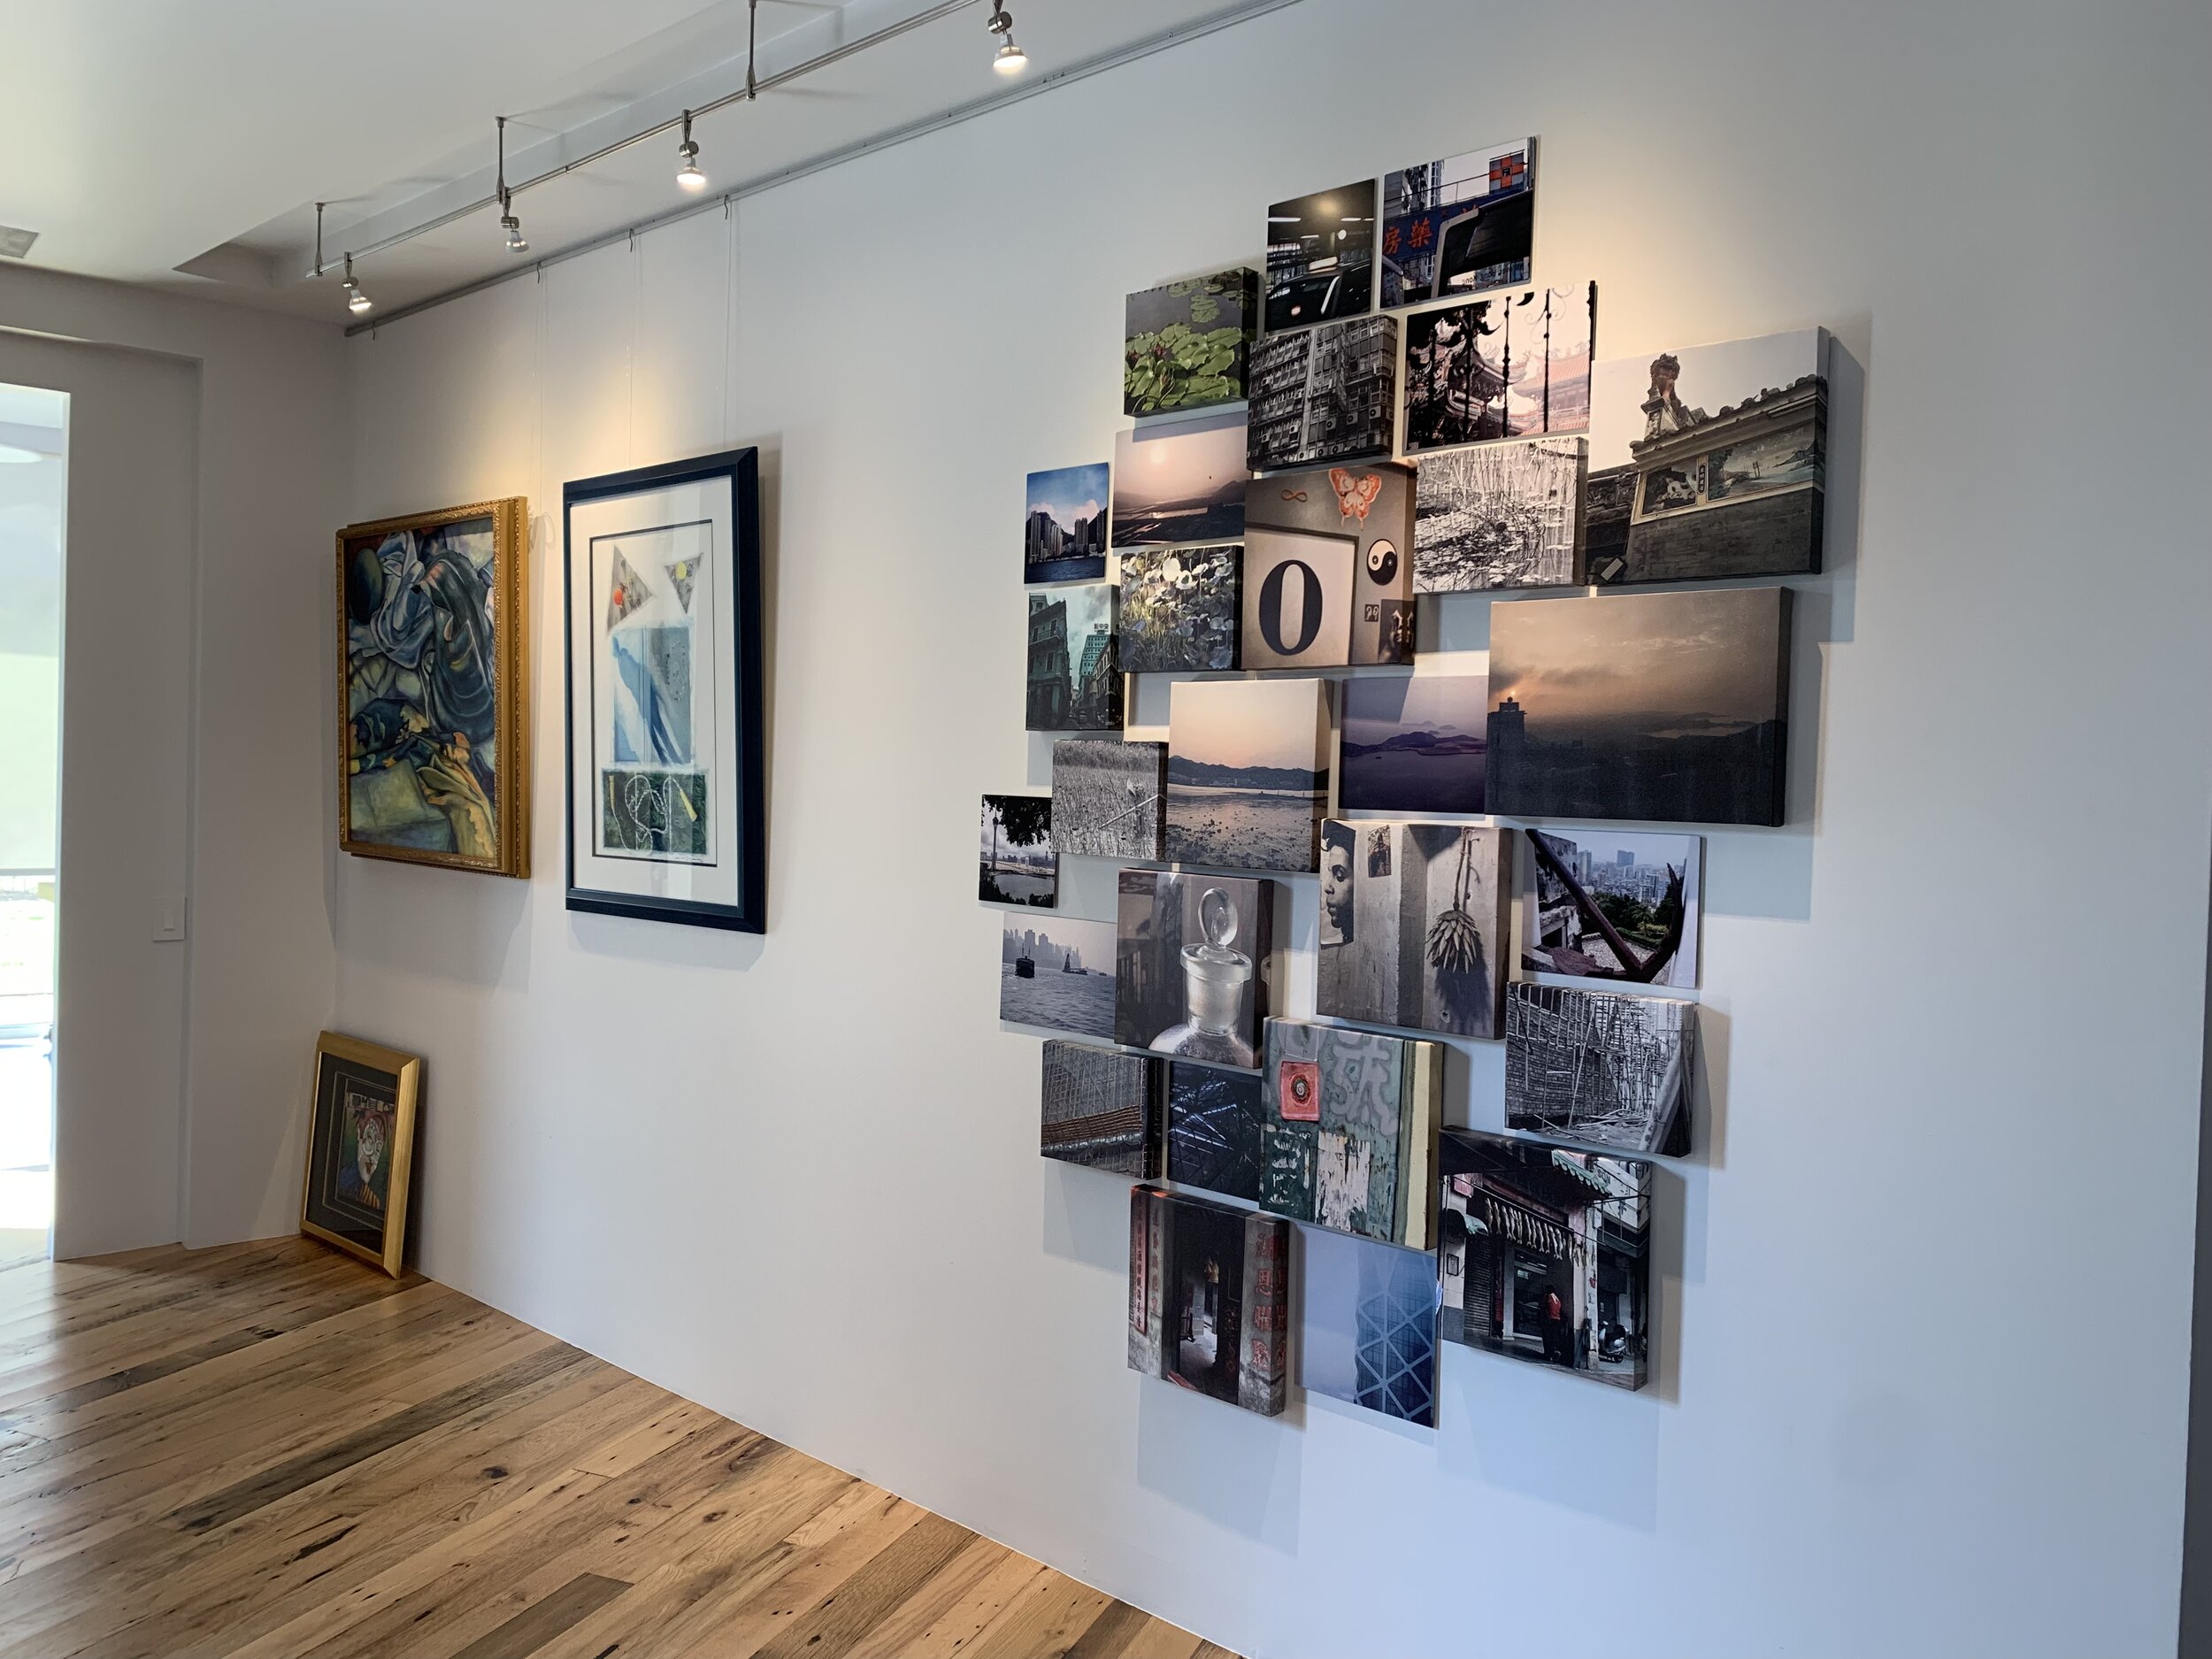
Don’t get overwhelmed by the thought of hanging a large grouping. This grouping looks complicated, but it really wasn’t difficult to hang. It would have been very difficult had I used traditional picture hangers or nails, but instead, I used 3M Velcro Command strips. I also employed some help with this project. The photo that was roughly at the center of the grouping was hung first. My handyman, Anibal, placed it two inches above the center of the wall (your bottom margin should be slightly greater than the top margin) and placed the right edge of the photo at the center of the wall space horizontally while making sure it was level. We worked our way out from there and used a 1” x 2” trim board as a spacer. I applied the Velcro strips and kept track of the pattern while Anibal placed them on the wall. It went together like a puzzle, but we got confused a couple of times as the pieces started going up. Fortunately, I took a photograph of the grouping before we started to hang them, so we could reference back to it, and we quickly got ourselves back on track. The end result is a beautiful array of my travel snapshots that not only has a dialog with the other artwork in the gallery, but it has a dialog with the long hallway leading to it from the front door.
Things to consider:
How do the individual pieces relate to each another?
How does your artwork relate to the furnishings in the room that you are hanging it in?
Where is the vantage point?
Tips to make hanging artwork easier:
Use a torpedo level to check the level of each frame. (A framing level or laser level is very beneficial if you are covering a wide expanse.)
Hanging an arrangement with equal distancing between frames, using something like the 1” x 2” trim board I used as a spacer, makes the job much simpler.
Use 3M Velcro Command strips for installations when possible to avoid damaging your walls.
I feel the same way about Command strips as I do about glue sticks. I don’t know how I ever lived without them. You just remove the backing from the adhesive, press and go. Surprisingly, they are quite strong, and the Velcro allows for slight adjustments without placing multiple nail holes in your wall. Command strips are fantastic for people who rent, for decorating children’s rooms that will change a number of times as they grow older, or for people like me who are constantly changing things up.
More than anything, trust yourself! We are often intuitively more talented than we consciously realize. Let your inner artist lead the way.
For more ideas and inspiration check out my “Gallery Wall” Pinterest board.

